An Agent is a member of your Customer Communications team on VowChat. Agents will be able to view and reply to messages from your users.
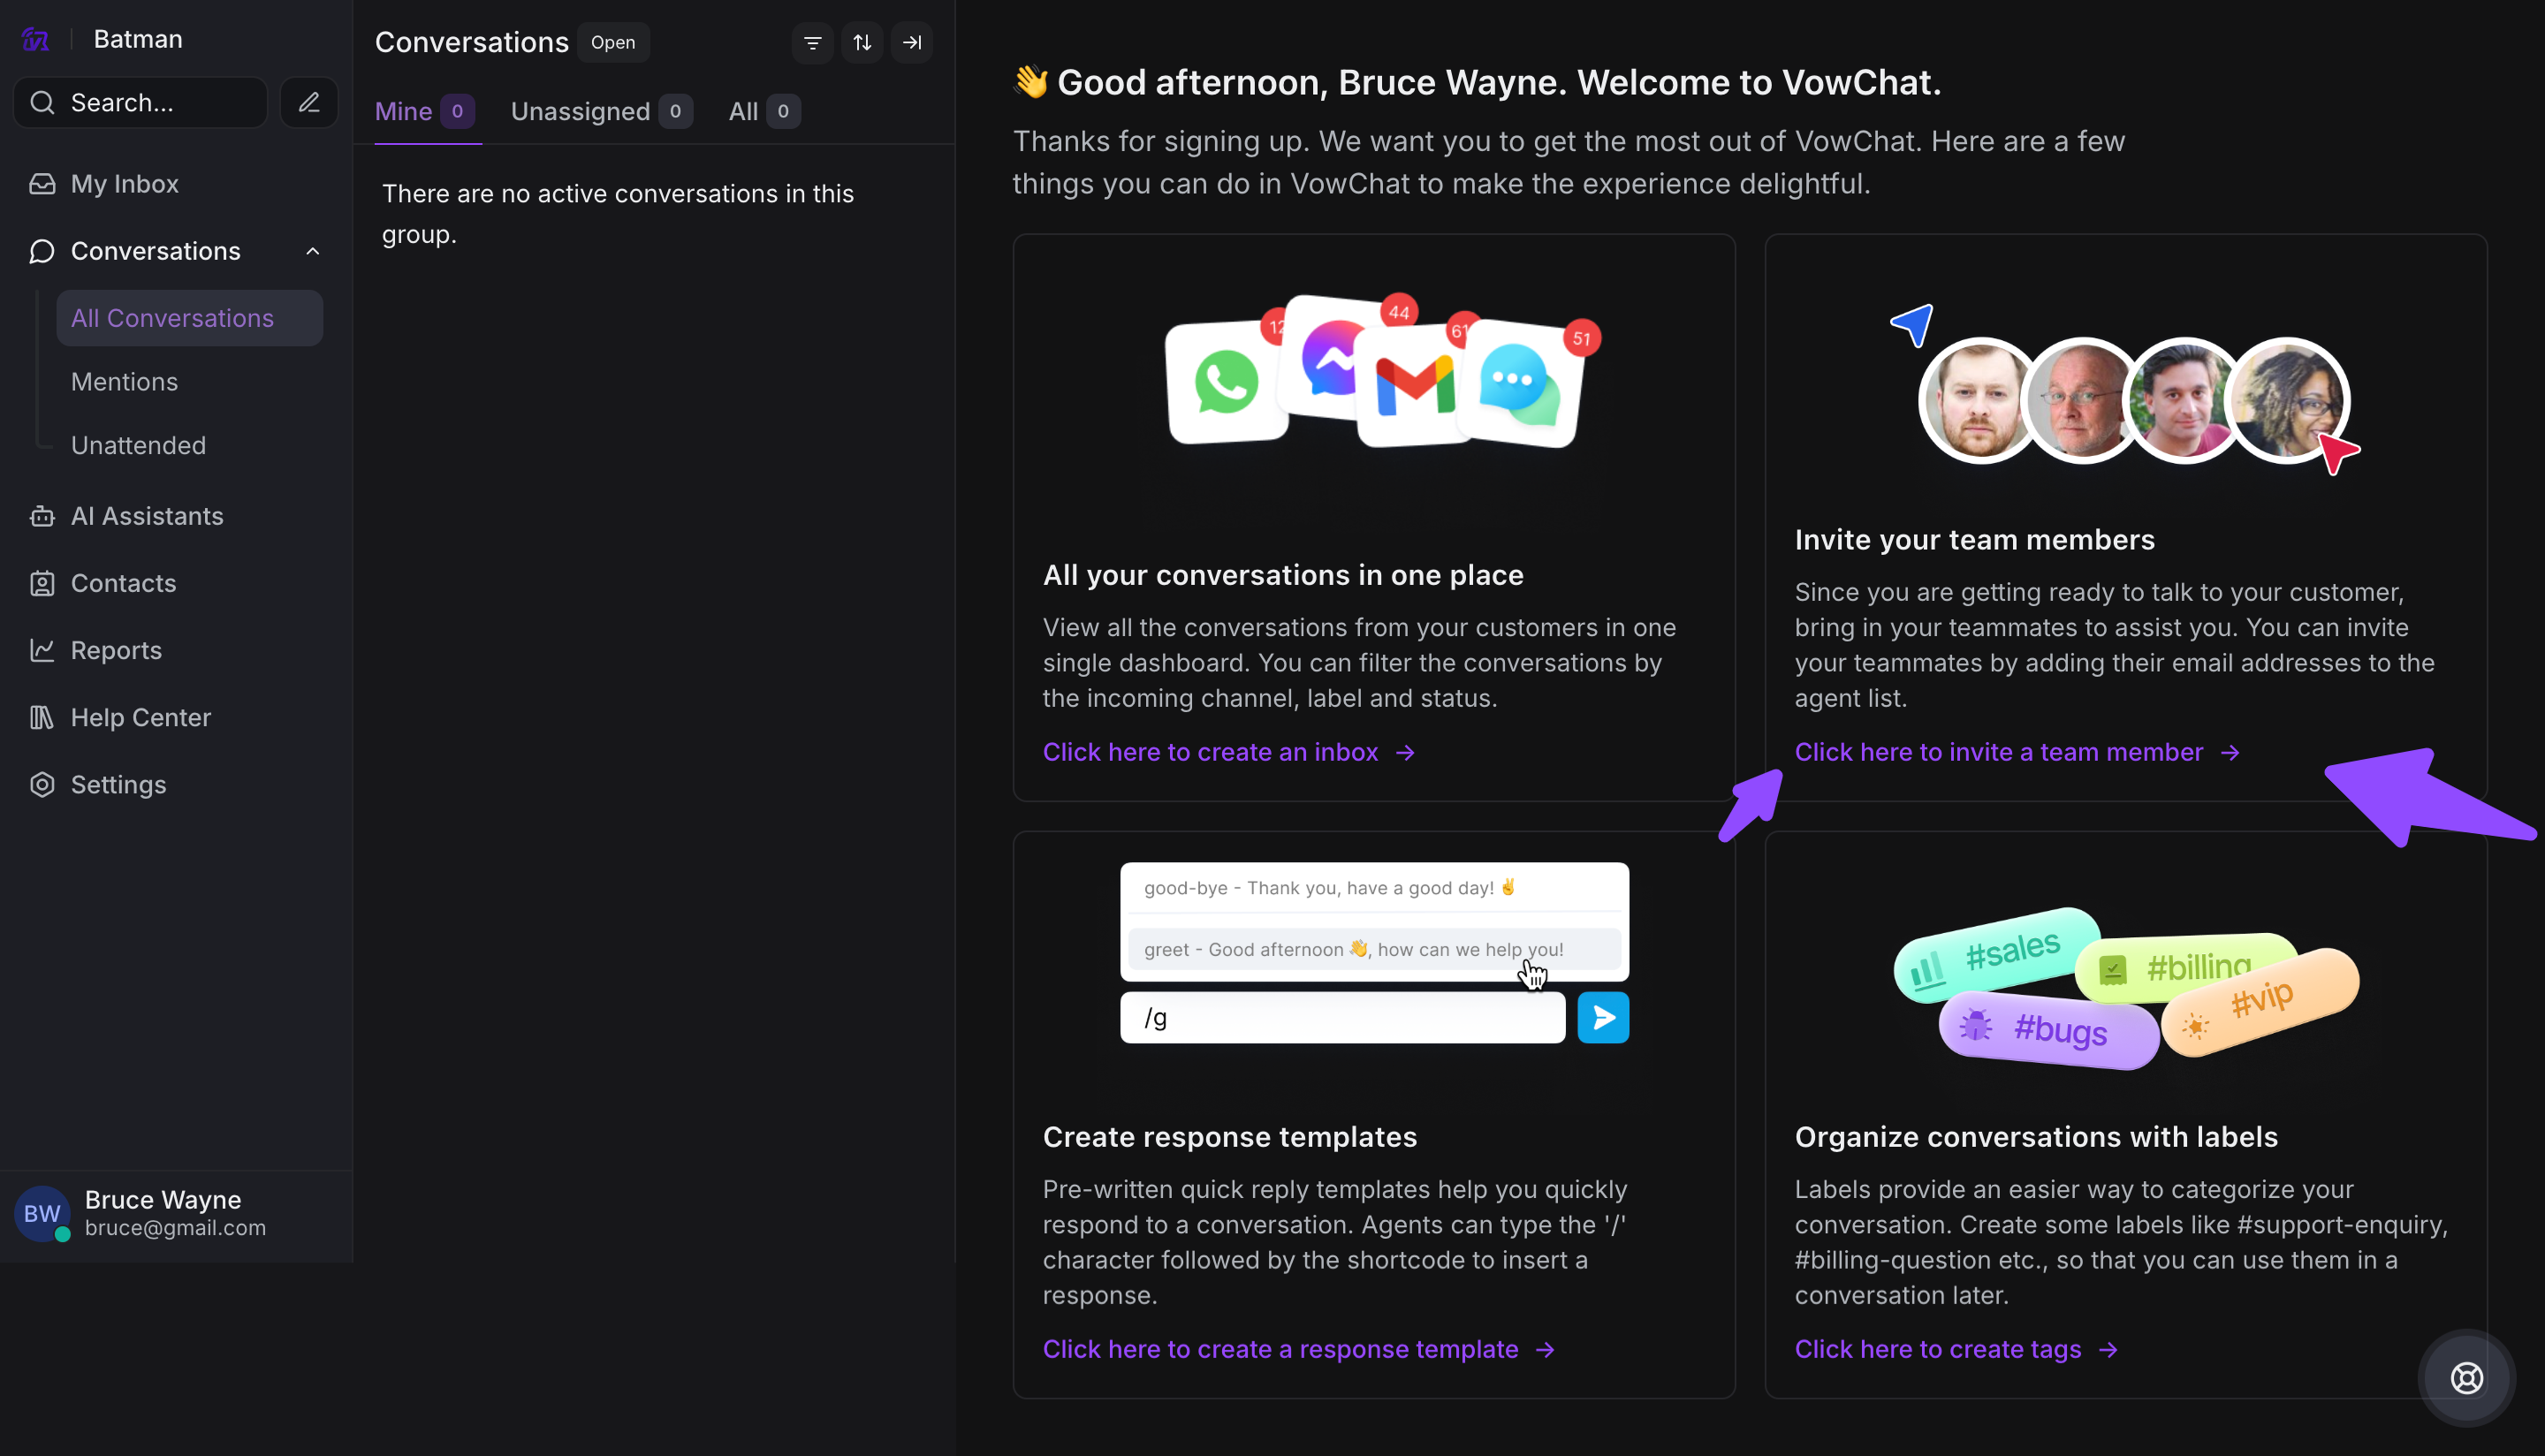
To add agents to your VowChat account, you can use the 'Click here to invite a team member' link.
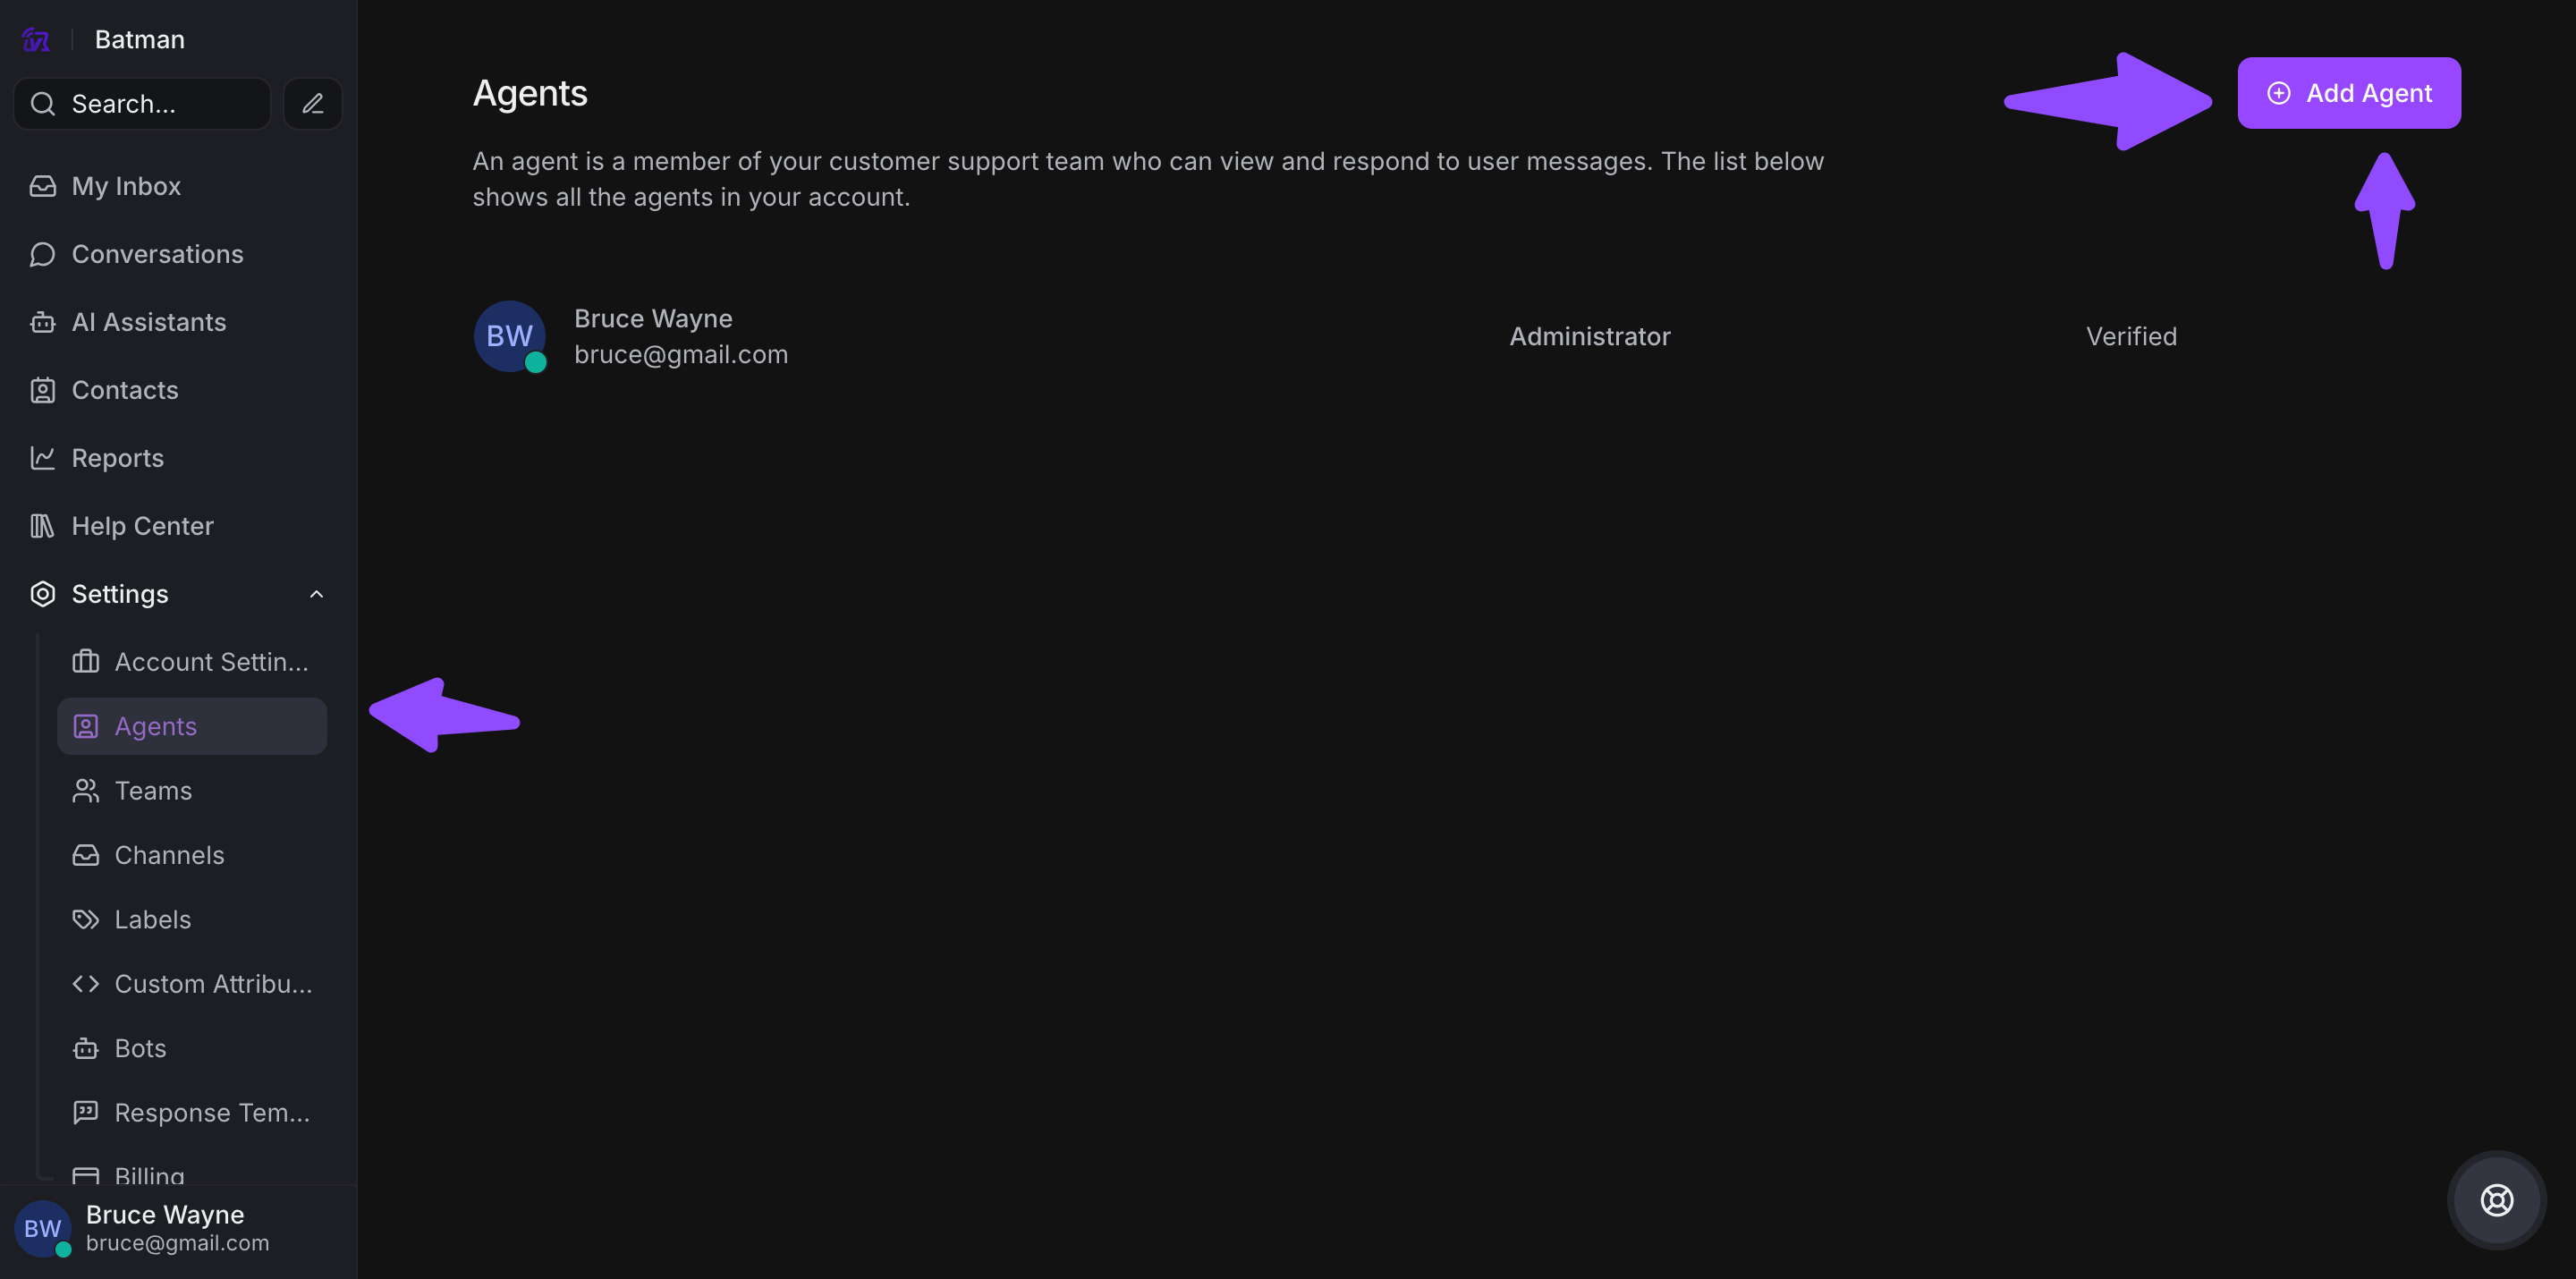
Alternatively, navigate from Settings → Agents.
Adding an Agent
Step 1. You'll be redirected to the Agents management page where your name will be listed by default as Administrator.
Step 2. Click the Add Agent button on the top right-hand side.
Step 3. A window will pop up to enter Agent details:

-
Name: Full name of the agent
-
Role: Choose from Agent or Administrator
-
Email address: Valid email for login and notifications
Step 4. Click Add Agent to confirm.
Step 5. You'll see an "Agent Added Successfully" message, and the agent will receive an email invitation to join your VowChat account.
Agent Roles
Administrator:
-
Full access to all features
-
Can manage settings, agents, and billing
-
Can create and delete channels
-
Can access all conversations
Agent:
-
Can view and reply to assigned conversations
-
Can access channels they're assigned to
-
Cannot modify account settings
-
Cannot manage other agents
Modifying or Deleting an Agent
Step 1. Navigate to Settings → Agents

-
Use the pencil icon to edit an agent
-
Use the red cross icon to delete an agent
Step 2. When editing an agent:

-
The agent's prefilled information will appear
-
You can modify the name and role
-
Click Edit Agent to save your changes
-
Click Cancel to discard changes
Deleting an agent:
-
Click the delete icon (red cross)
-
Confirm the deletion
-
The agent will lose access immediately and be removed from your account