This guide walks you through creating and configuring your website live chat channel in VowChat.
Browser Compatibility
VowChat's live chat widget is compatible with:
Desktop Browsers:
-
Firefox v52+
-
Chrome v57+
-
Safari v14.1+
-
Edge v16+
Mobile Operating Systems:
-
Android v5.0+
-
iOS v11.0+
How to Create a Website Channel
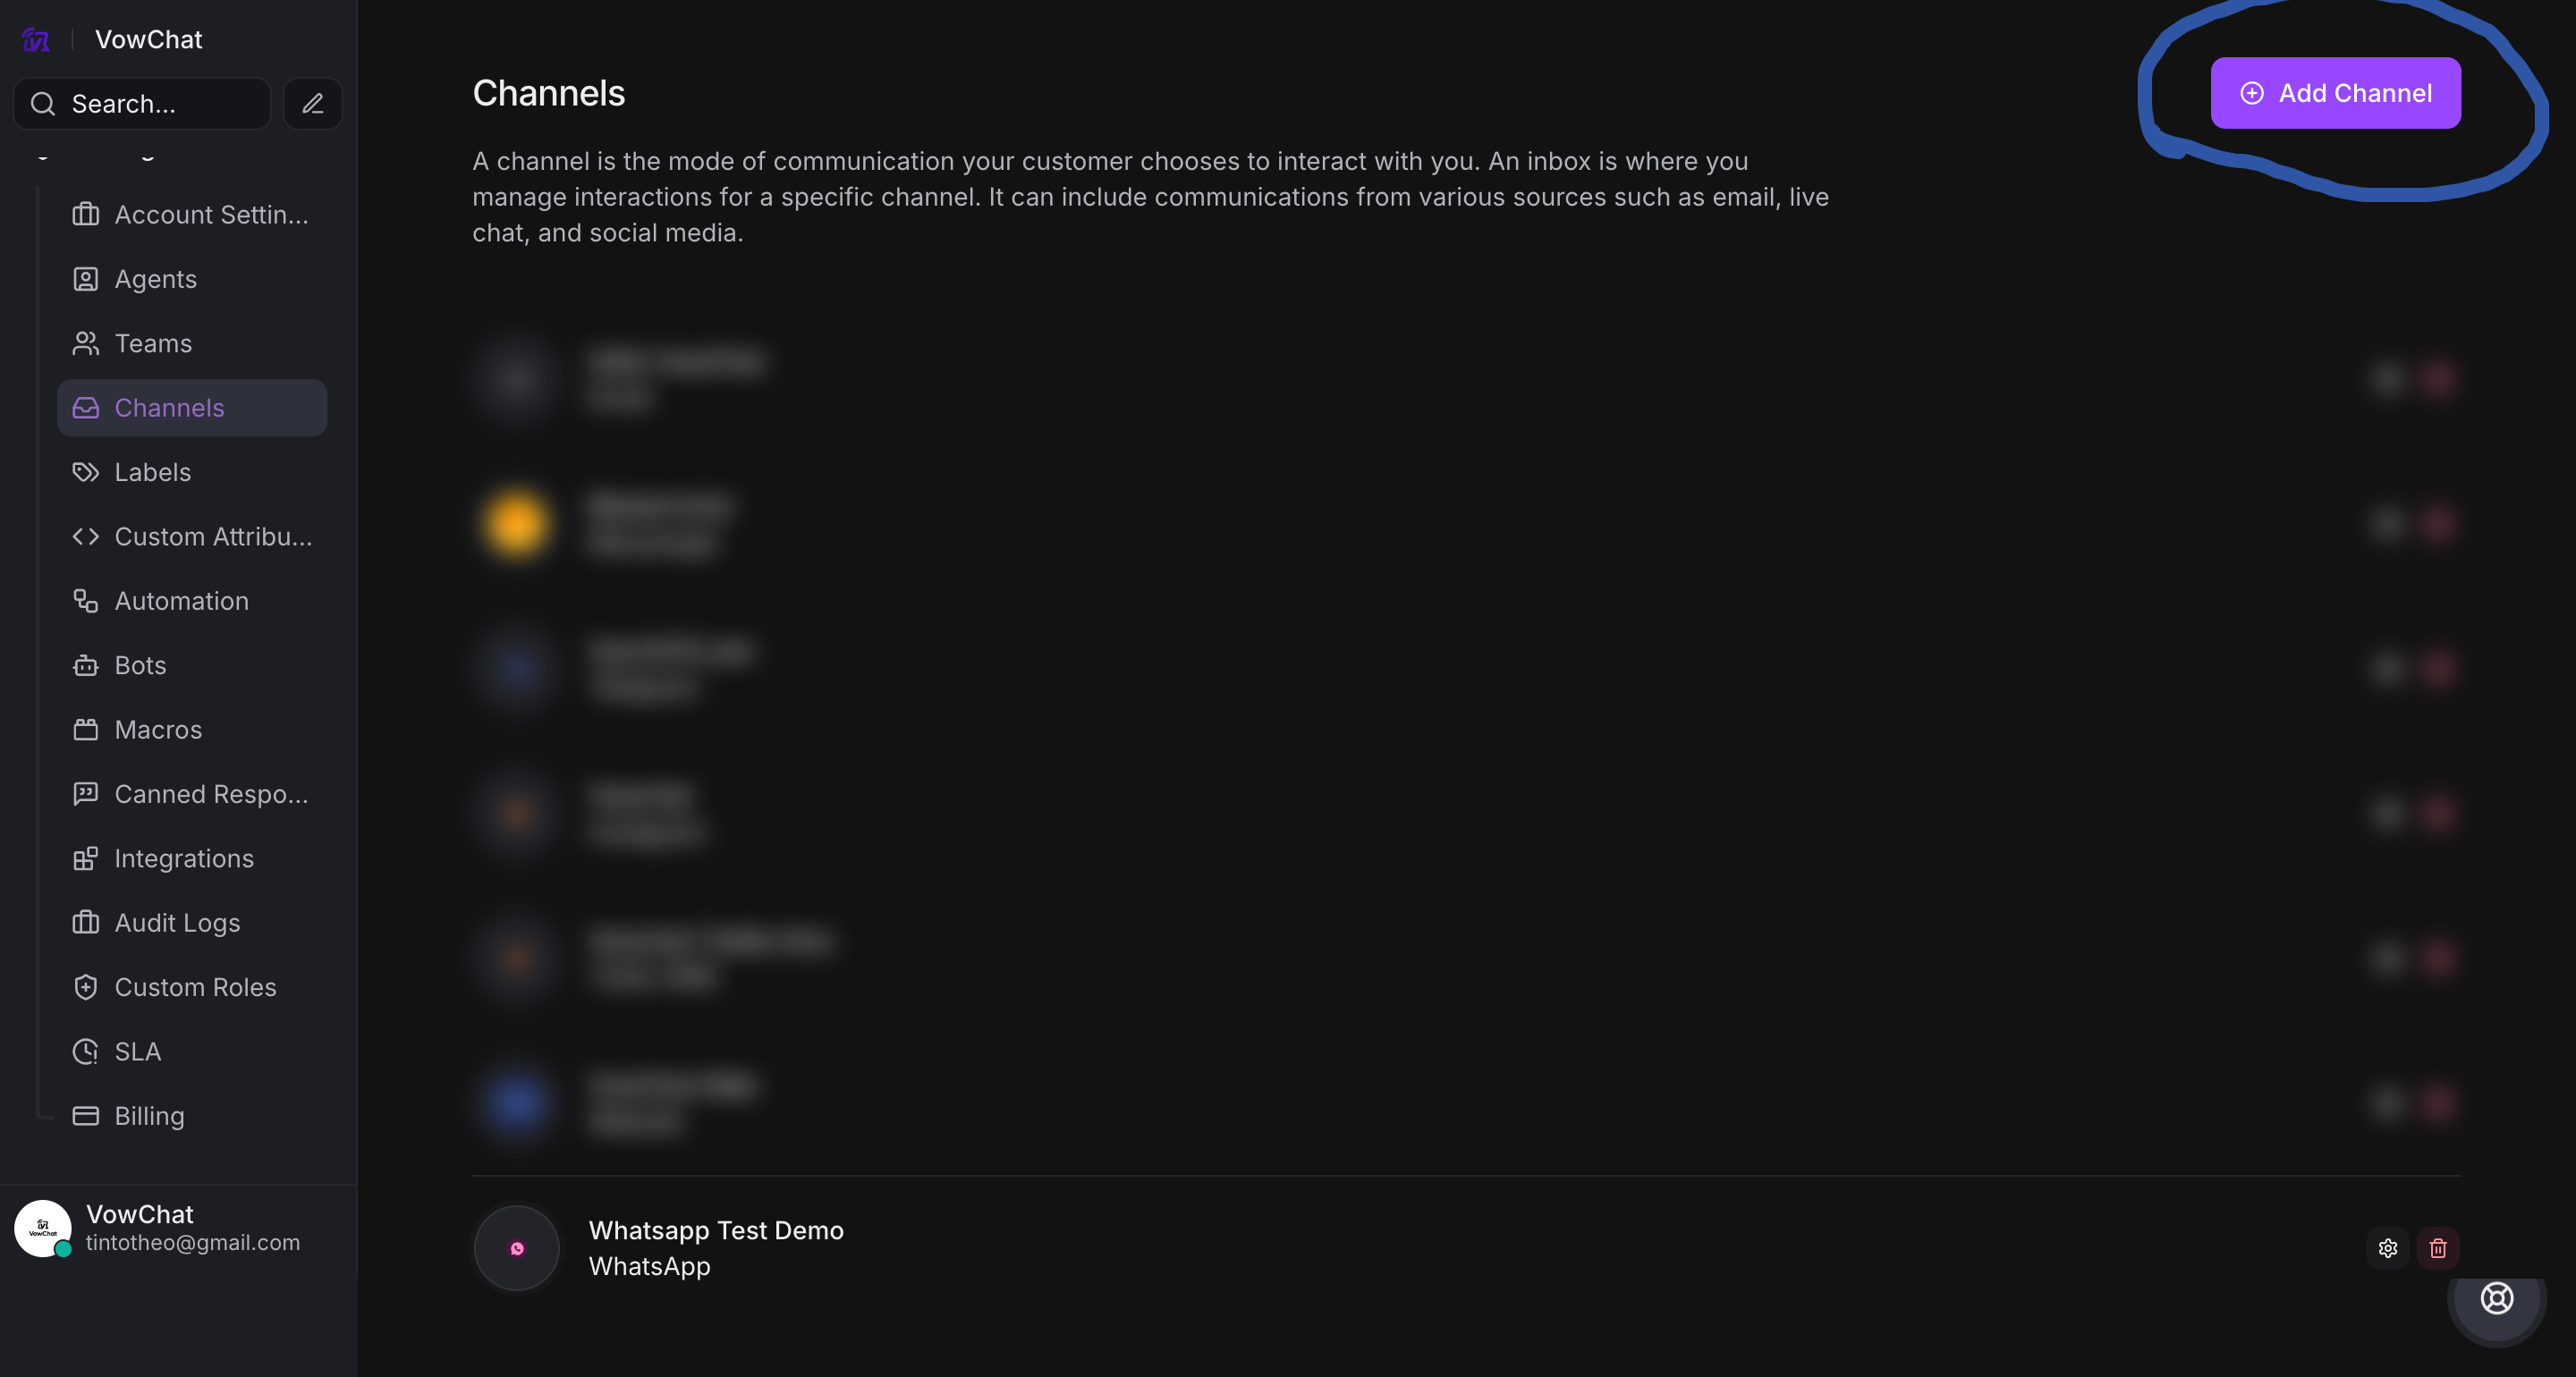
Step 1. Go to Settings → Channels → Add Channel
Step 2. Select the Website icon
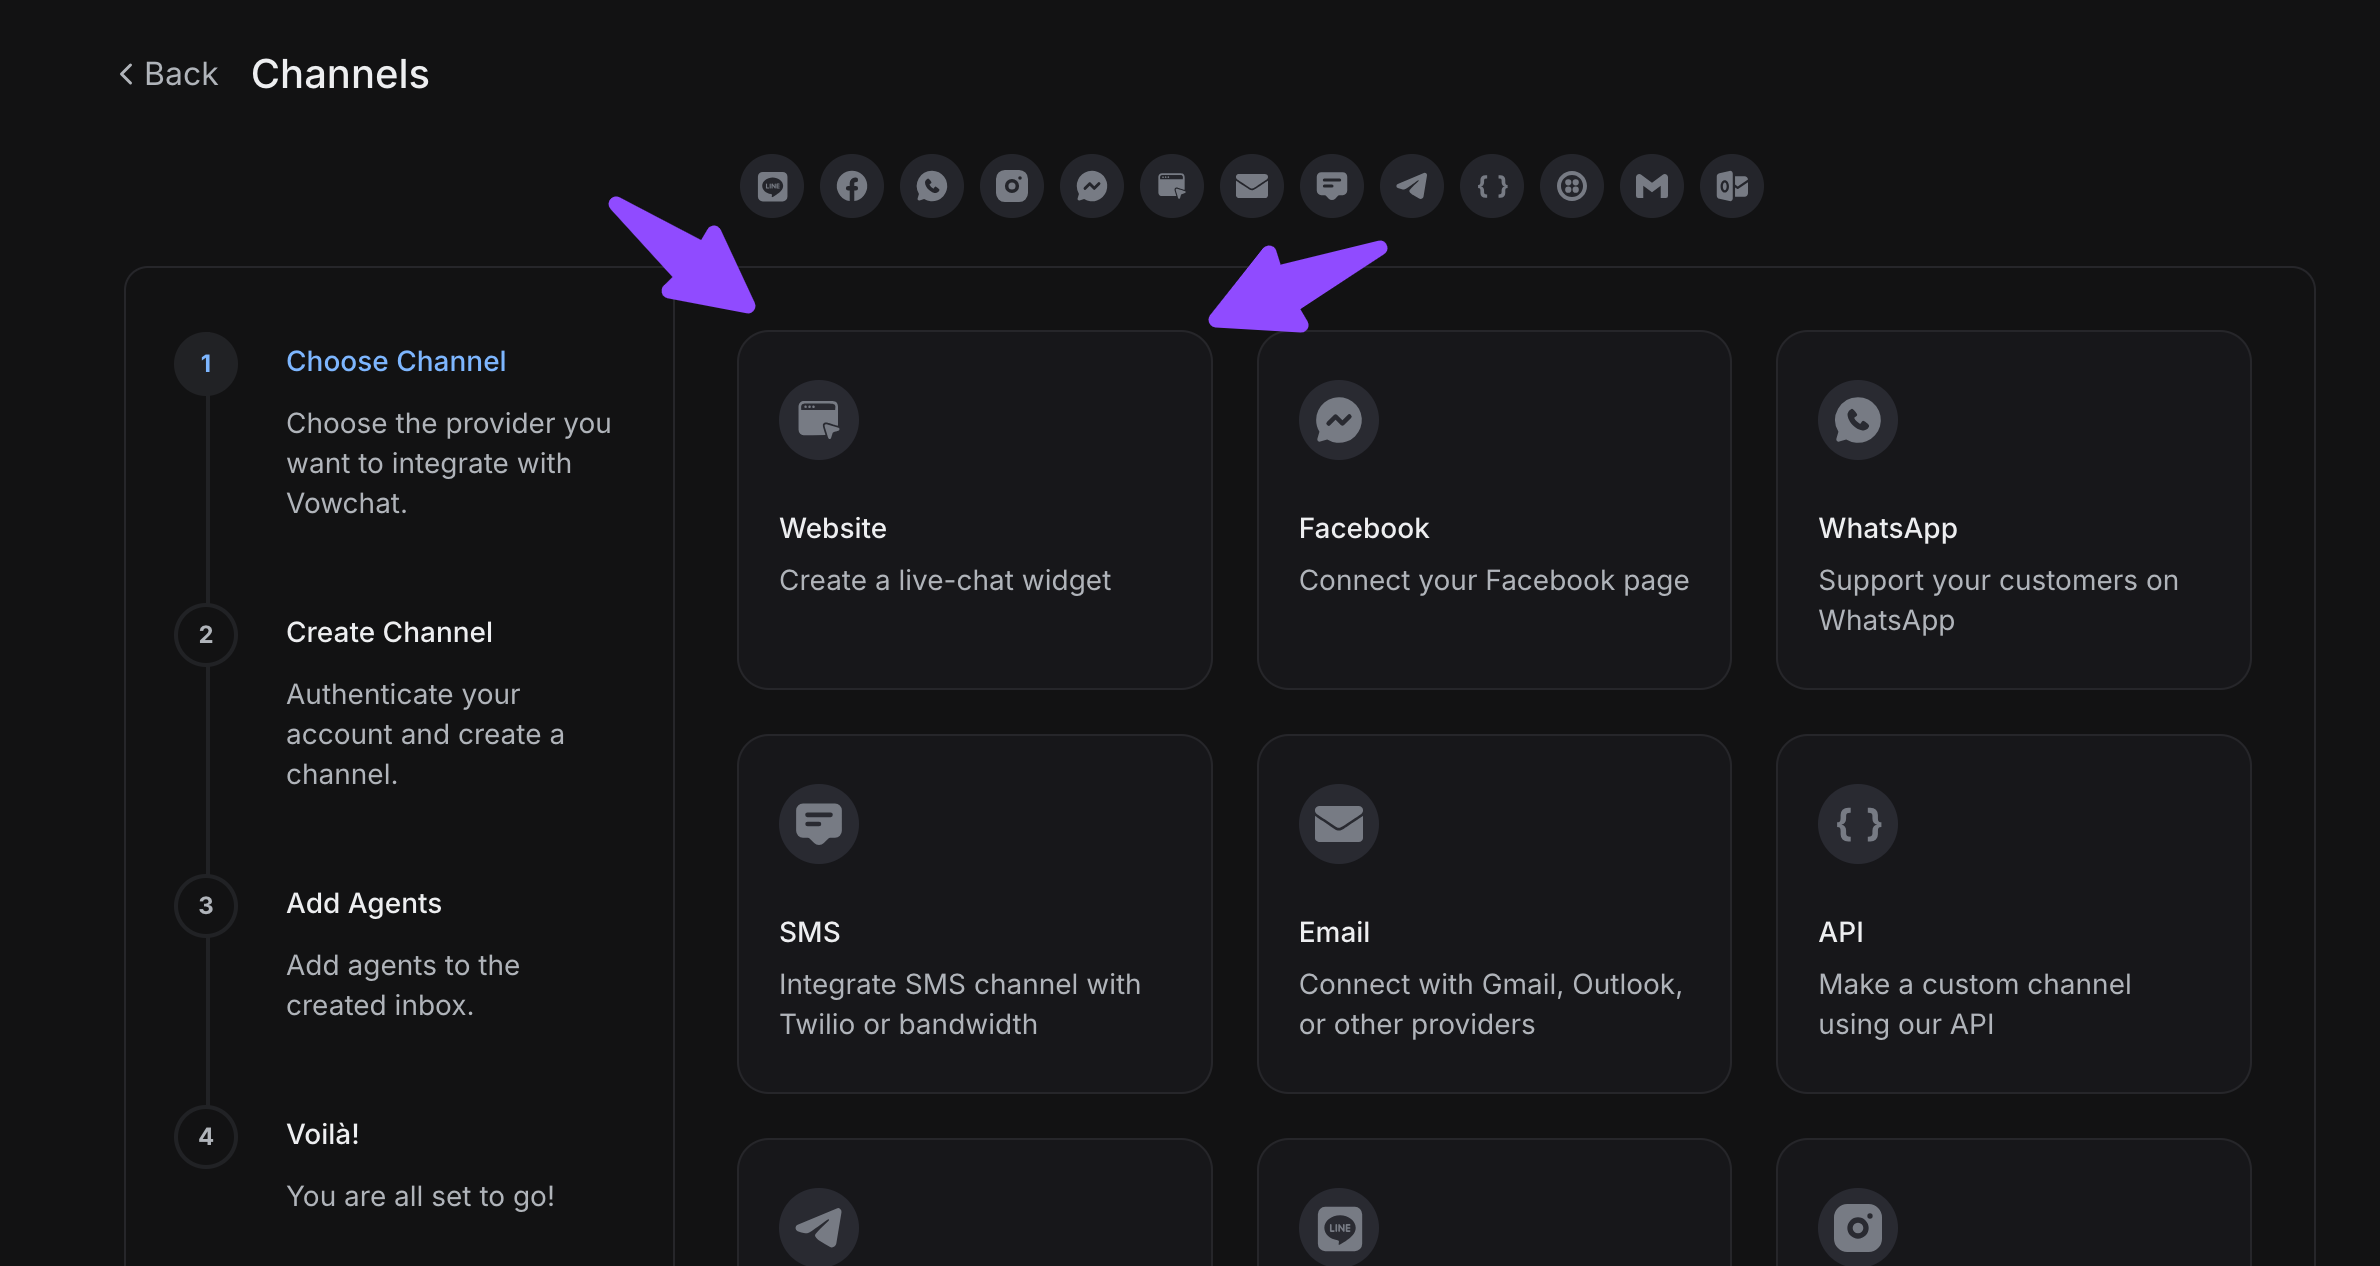
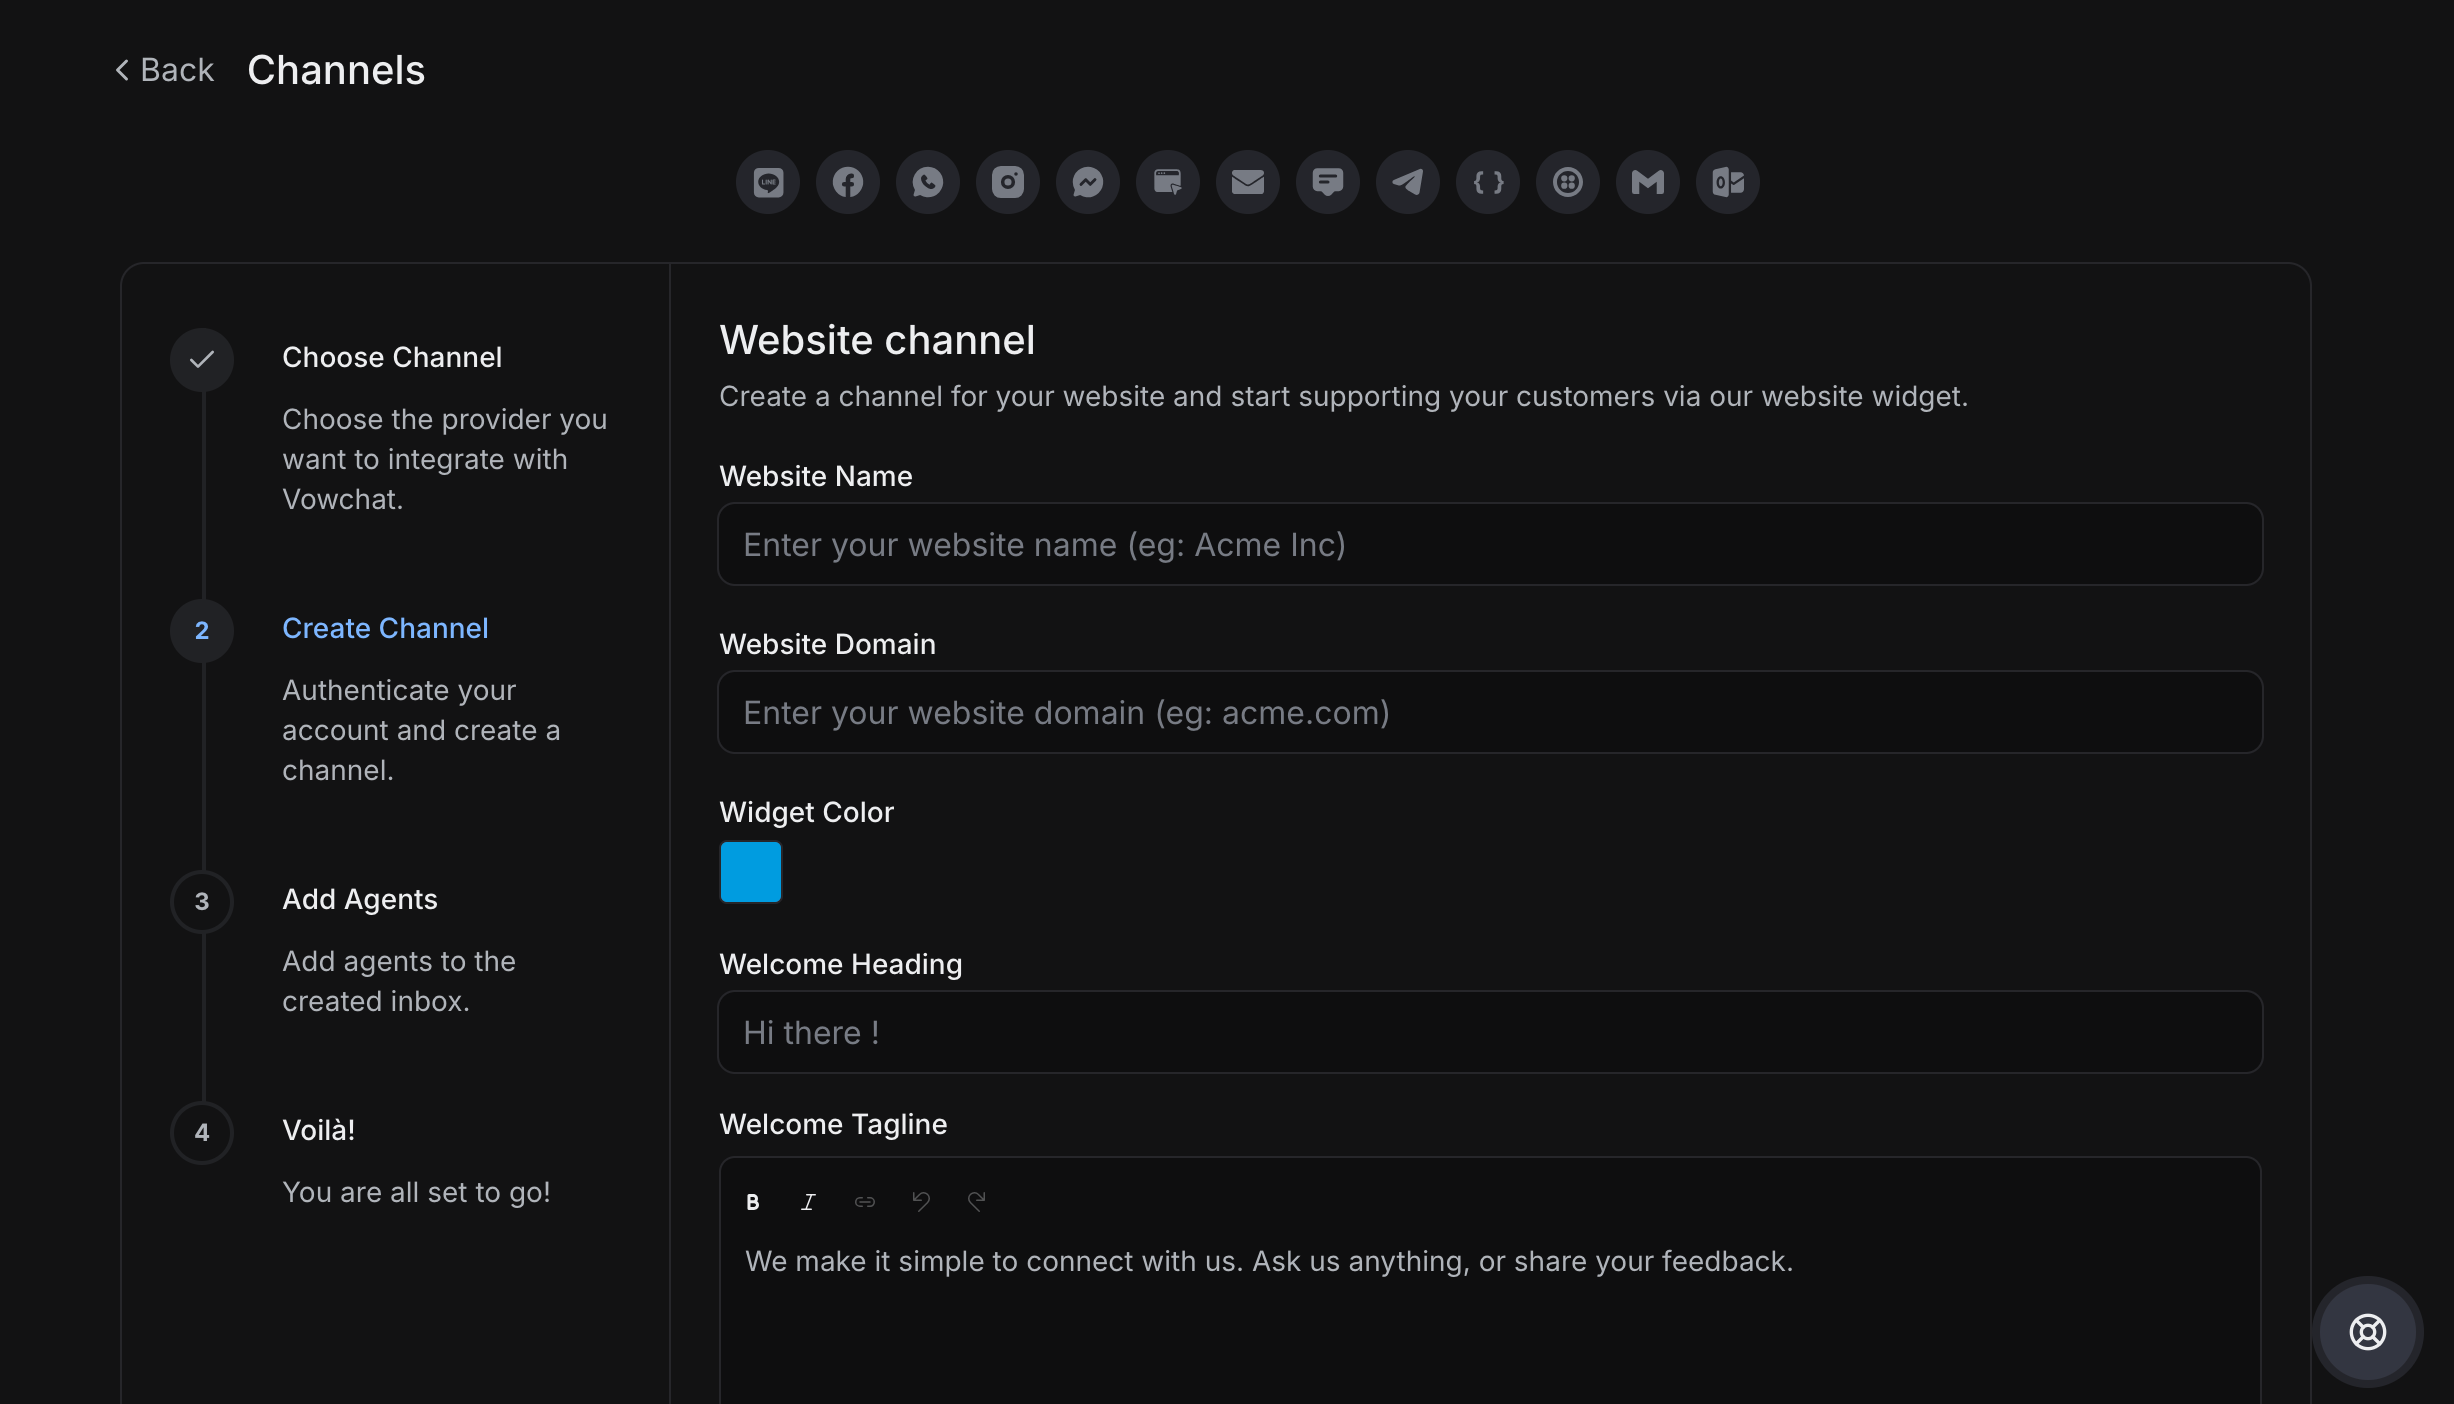
Step 3. Configure your website channel details:
-
Website Name: Enter a name for this channel (e.g., "Main Website", "Product Site")
-
Website Domain: Your website URL (e.g., "https://yourwebsite.com")
-
Widget Color: Choose a color that matches your brand
-
Welcome Heading: The greeting visitors see (e.g., "Hi there!")
-
Welcome Tagline: Additional message (e.g., "How can we help you today?")
-
Channel Greeting: Enable automated greeting messages
Step 4. Add agents to the channel
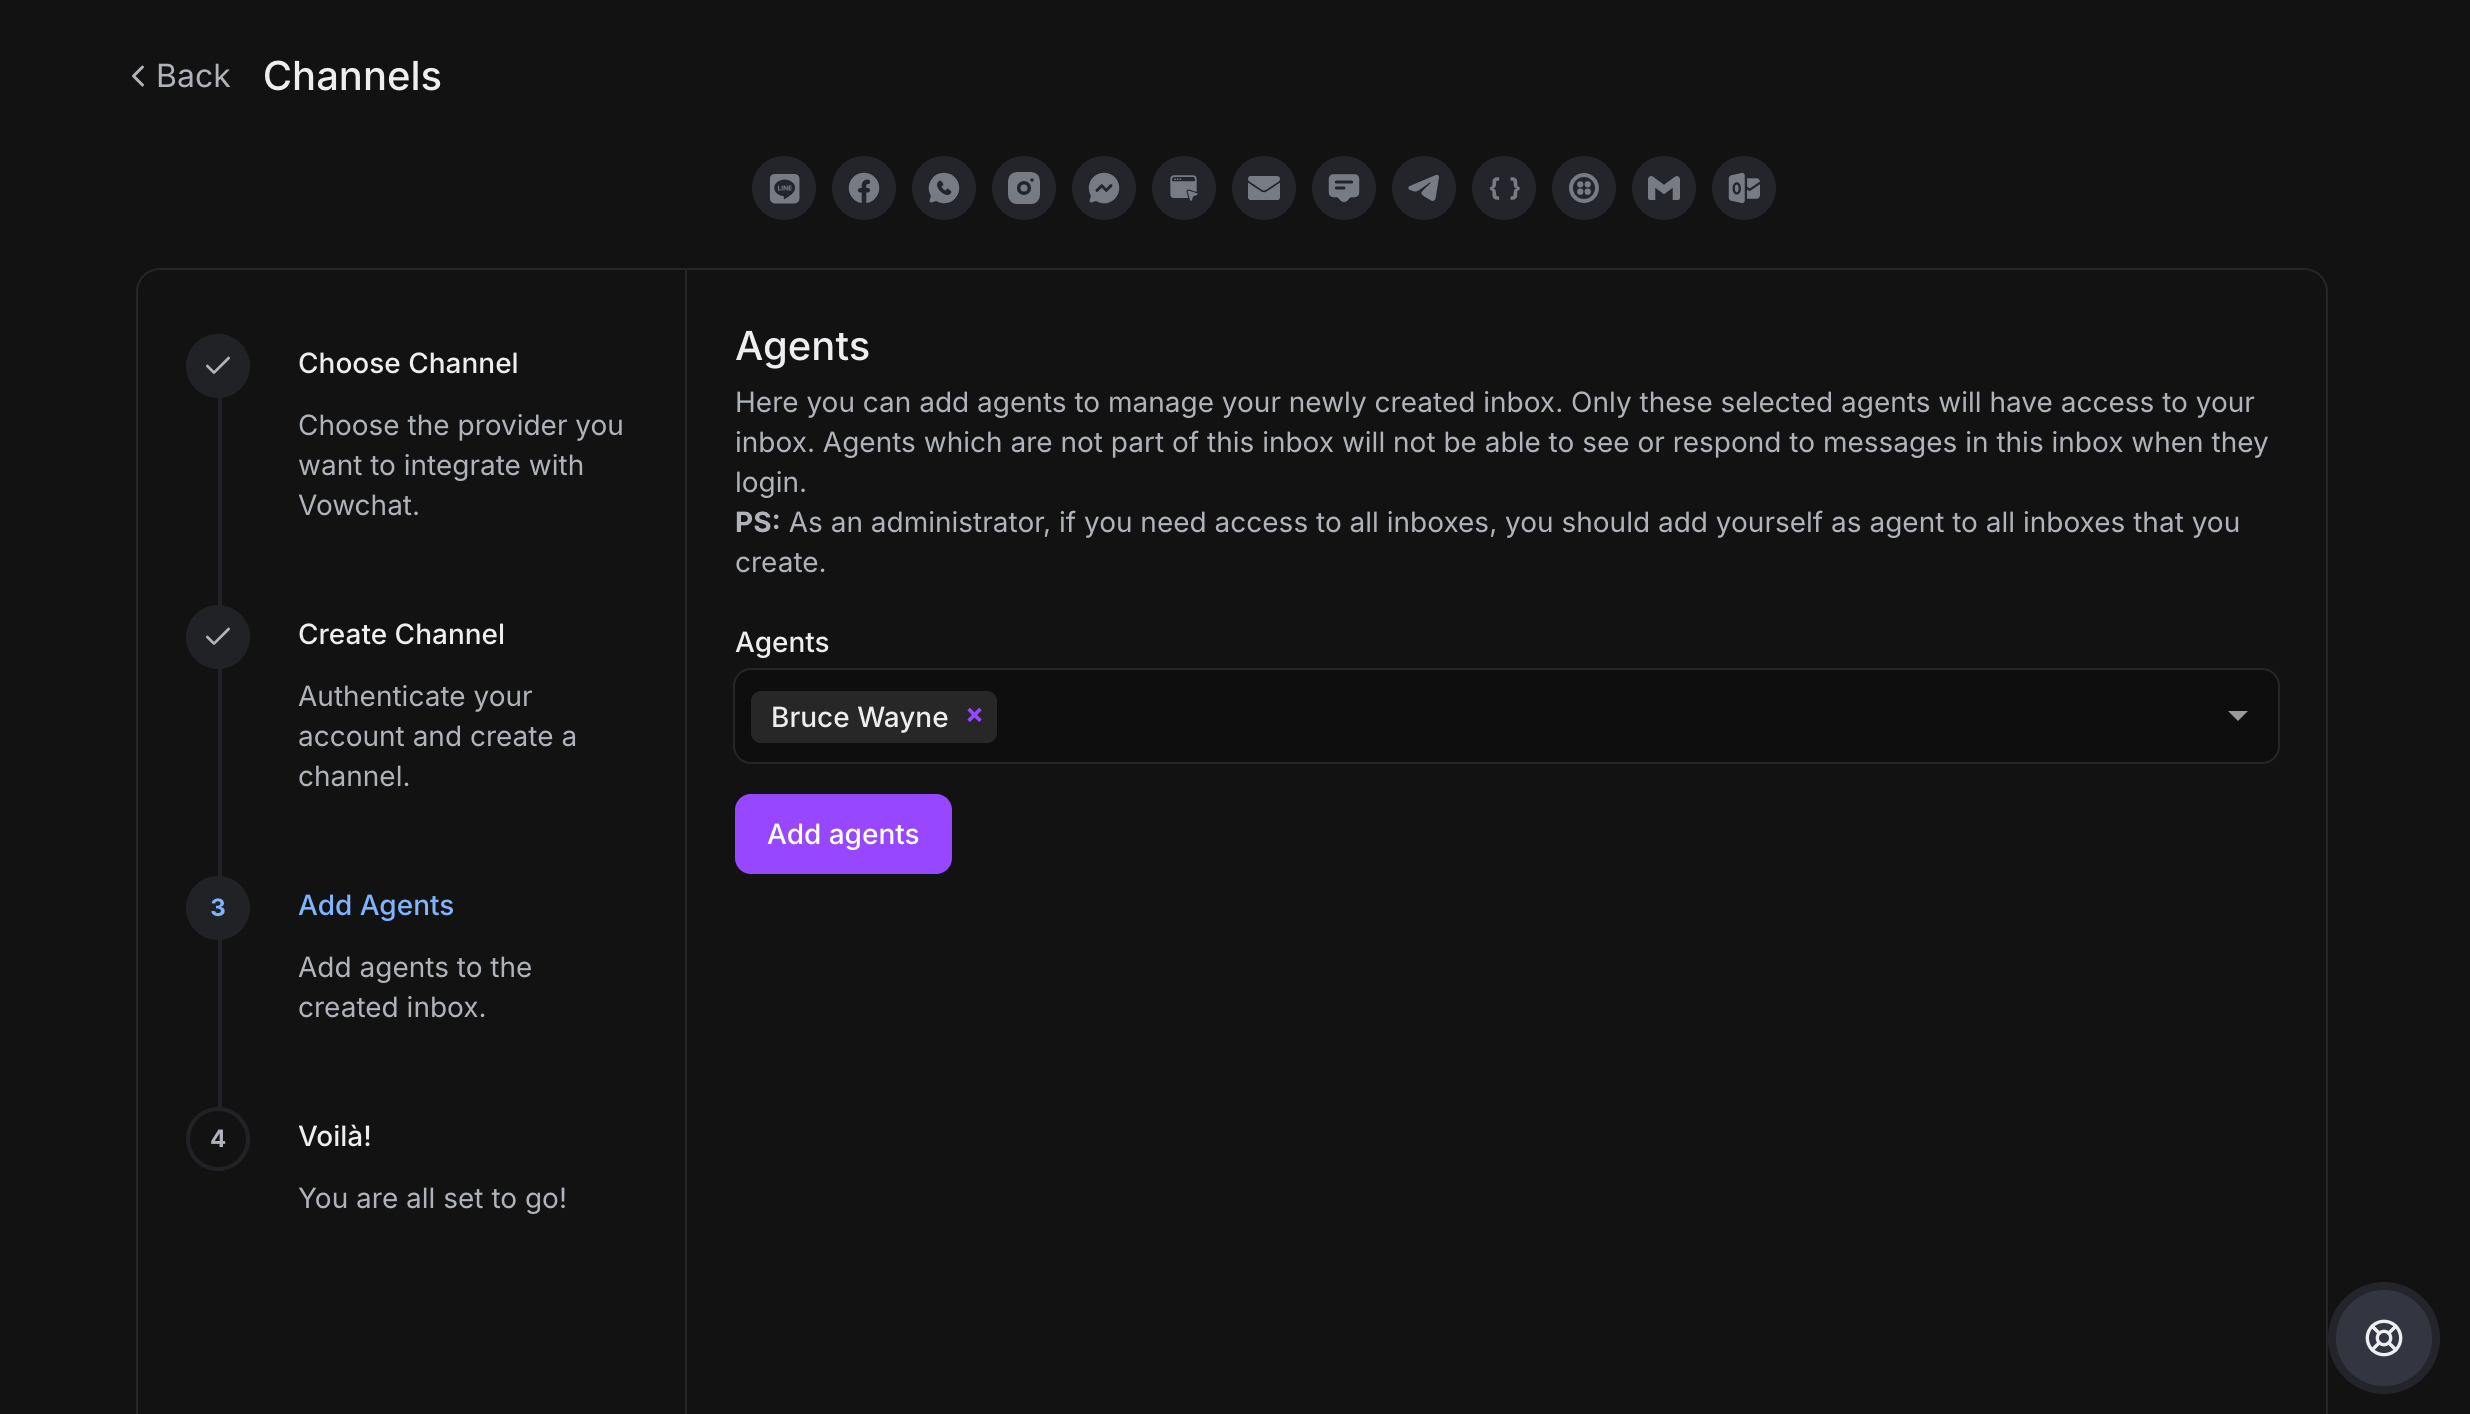
Select which agents should have access to conversations from this website channel.
Step 5. Your website channel is ready!
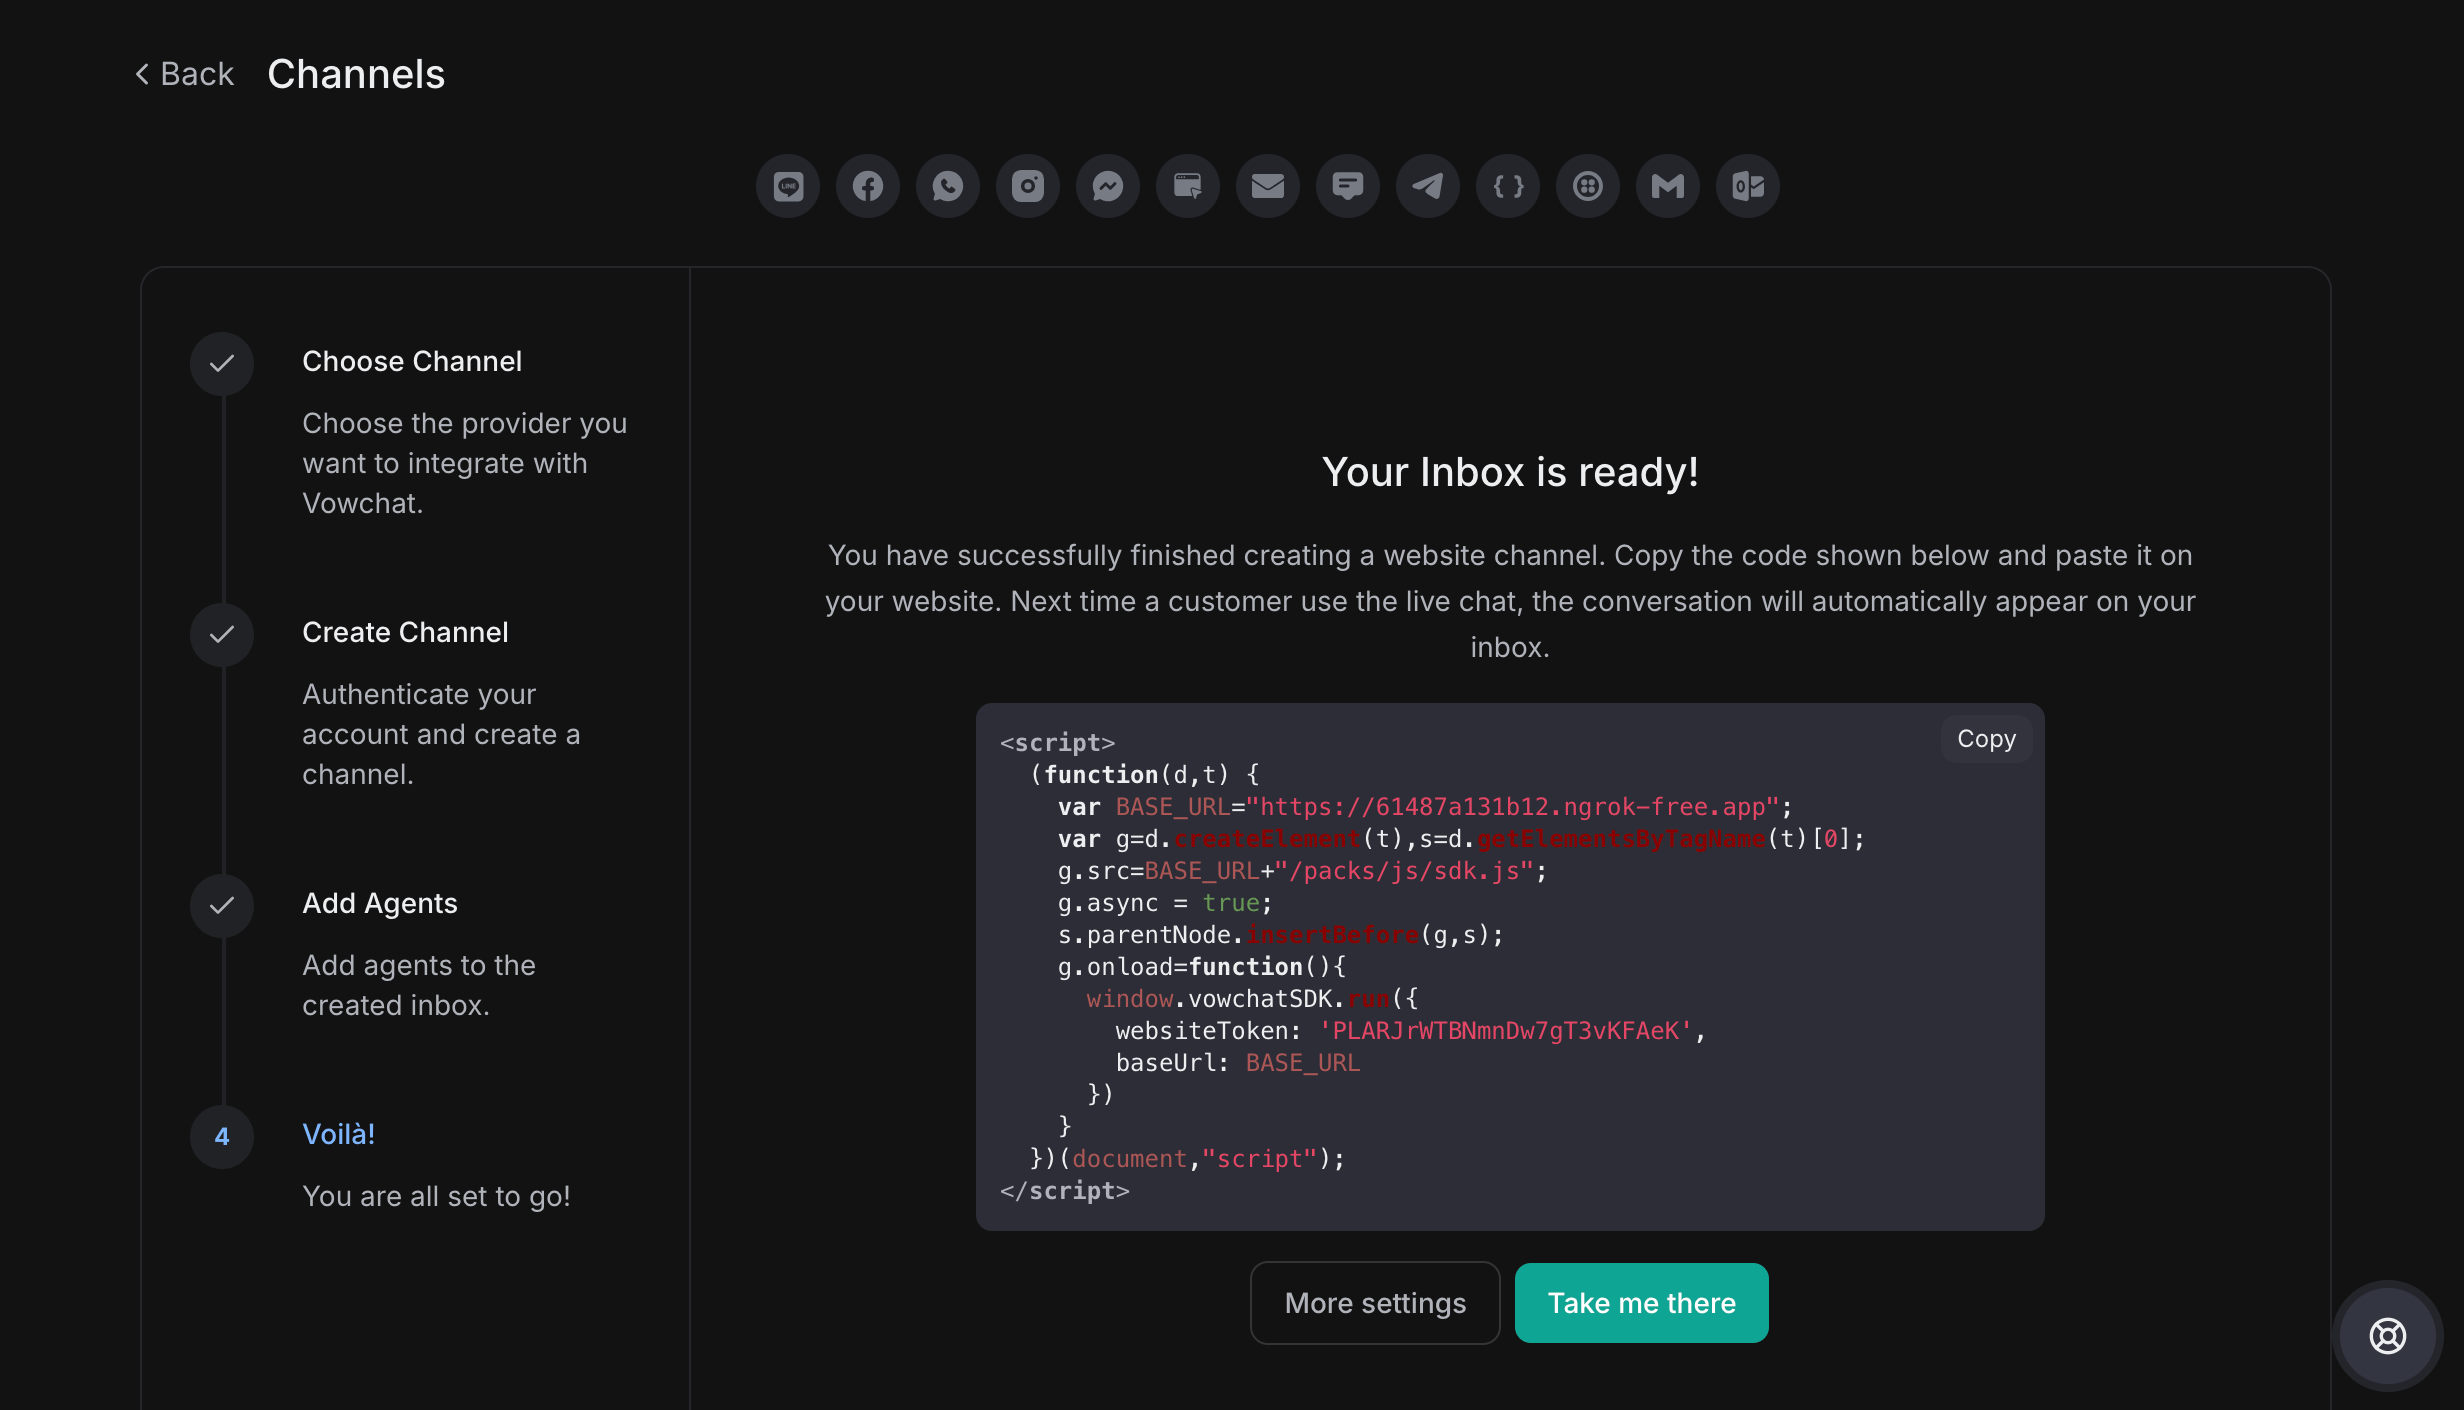
Complete Channel Setup
After creating your website channel, you'll see several configuration tabs:
Settings Tab
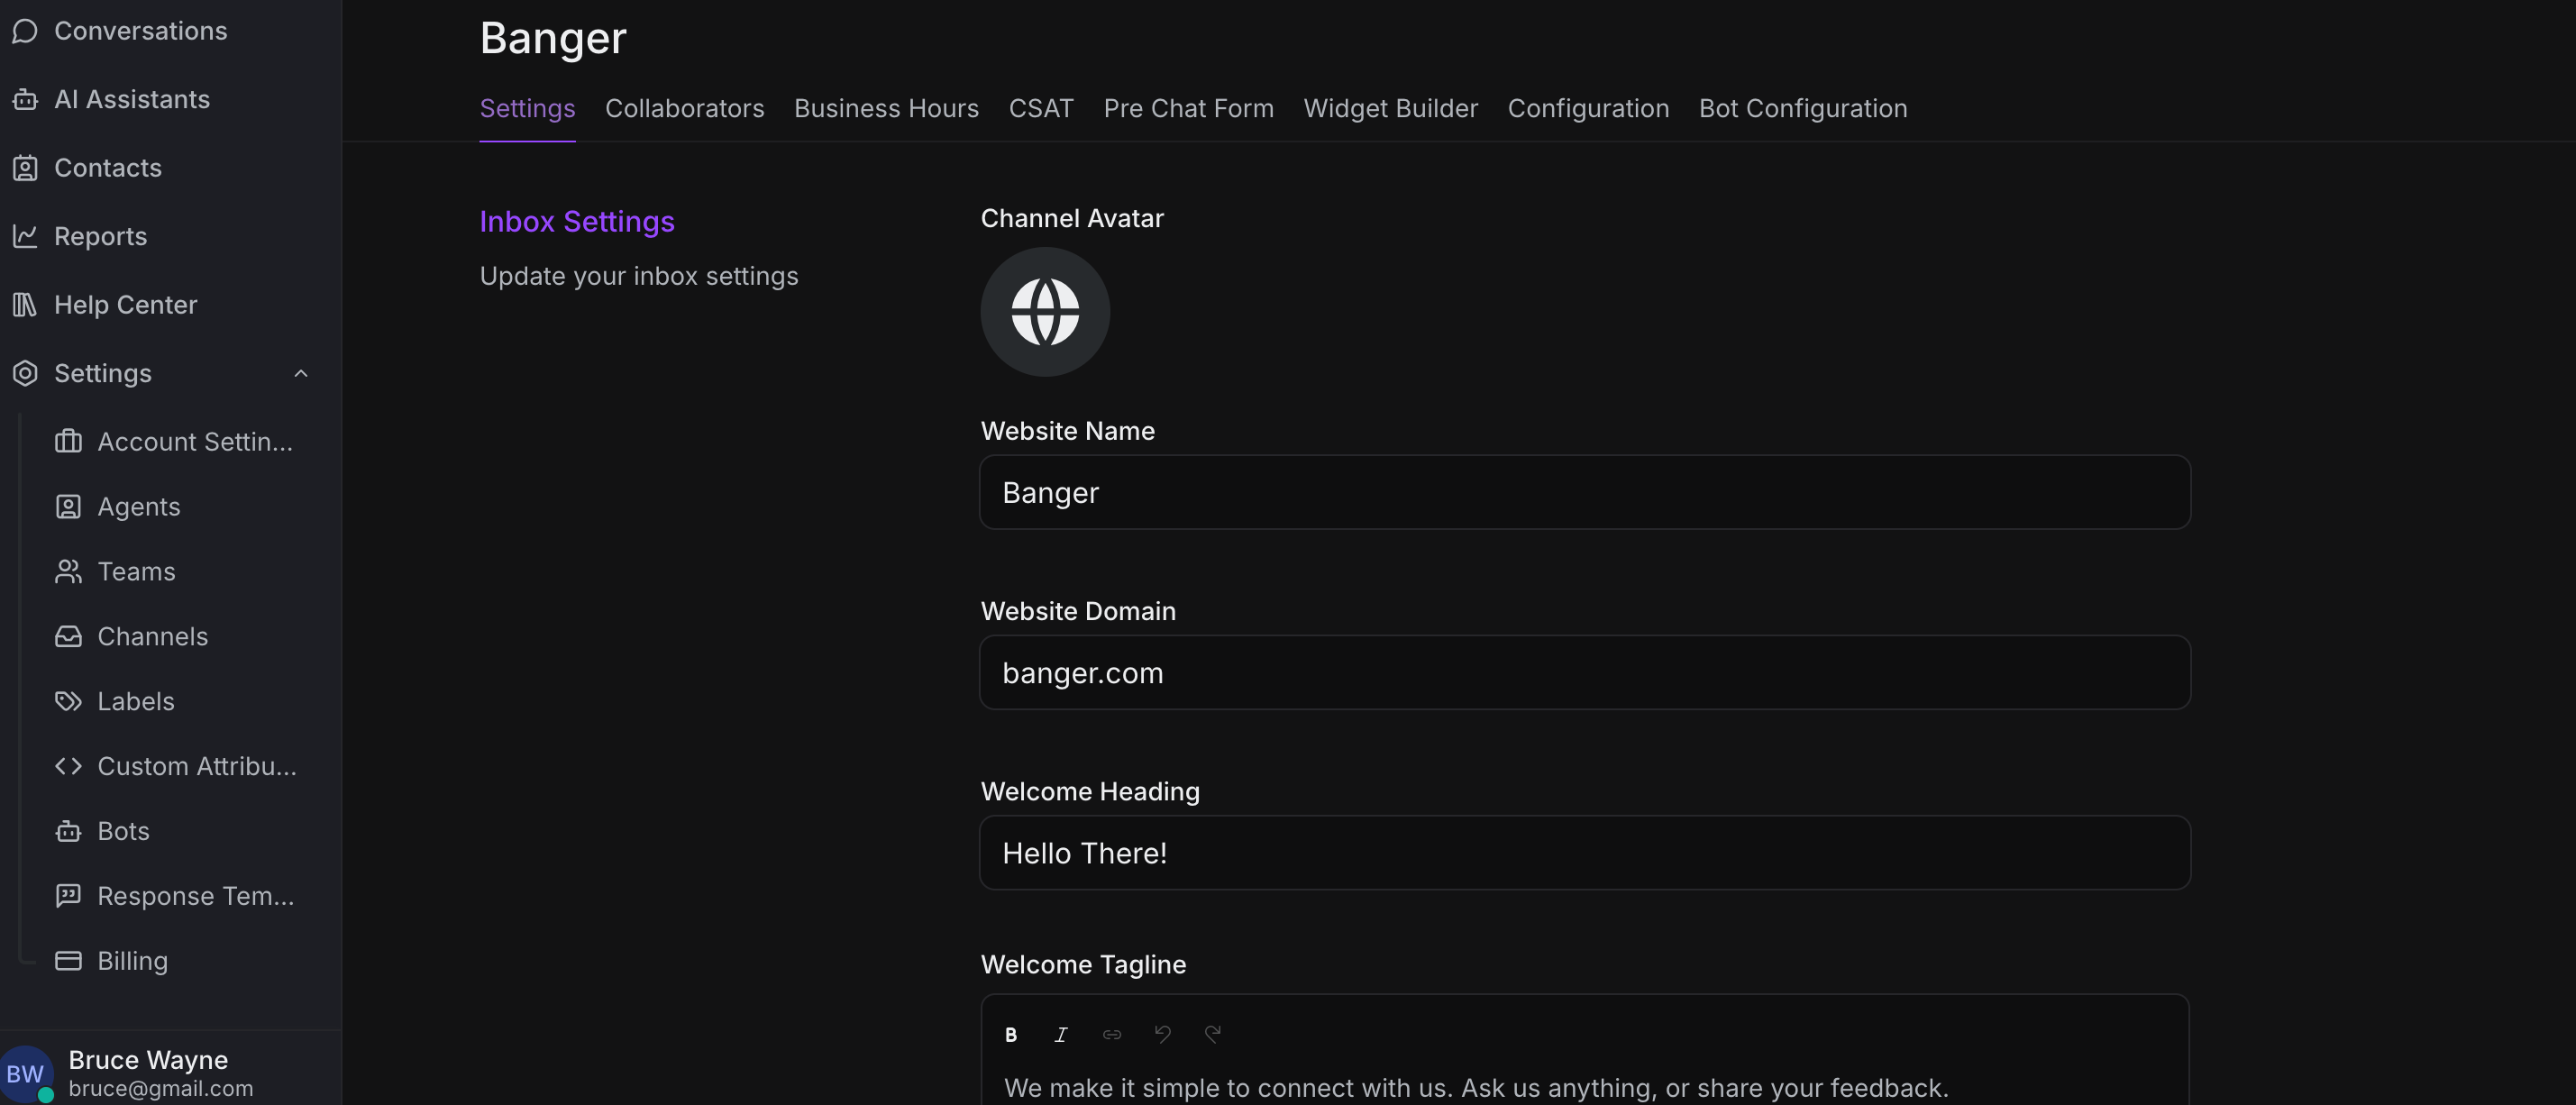
Configure notification and conversation settings:
-
Notification settings: How and when to notify agents
-
Email collection: Require visitor email before chat
-
CSAT Survey: Enable customer satisfaction surveys after conversations

Additional settings for conversation management and user experience.
Collaborators Tab

Manage agents:
-
Add agents who can handle conversations from this channel
-
Remove agents from the channel
-
Configure automatic conversation assignment
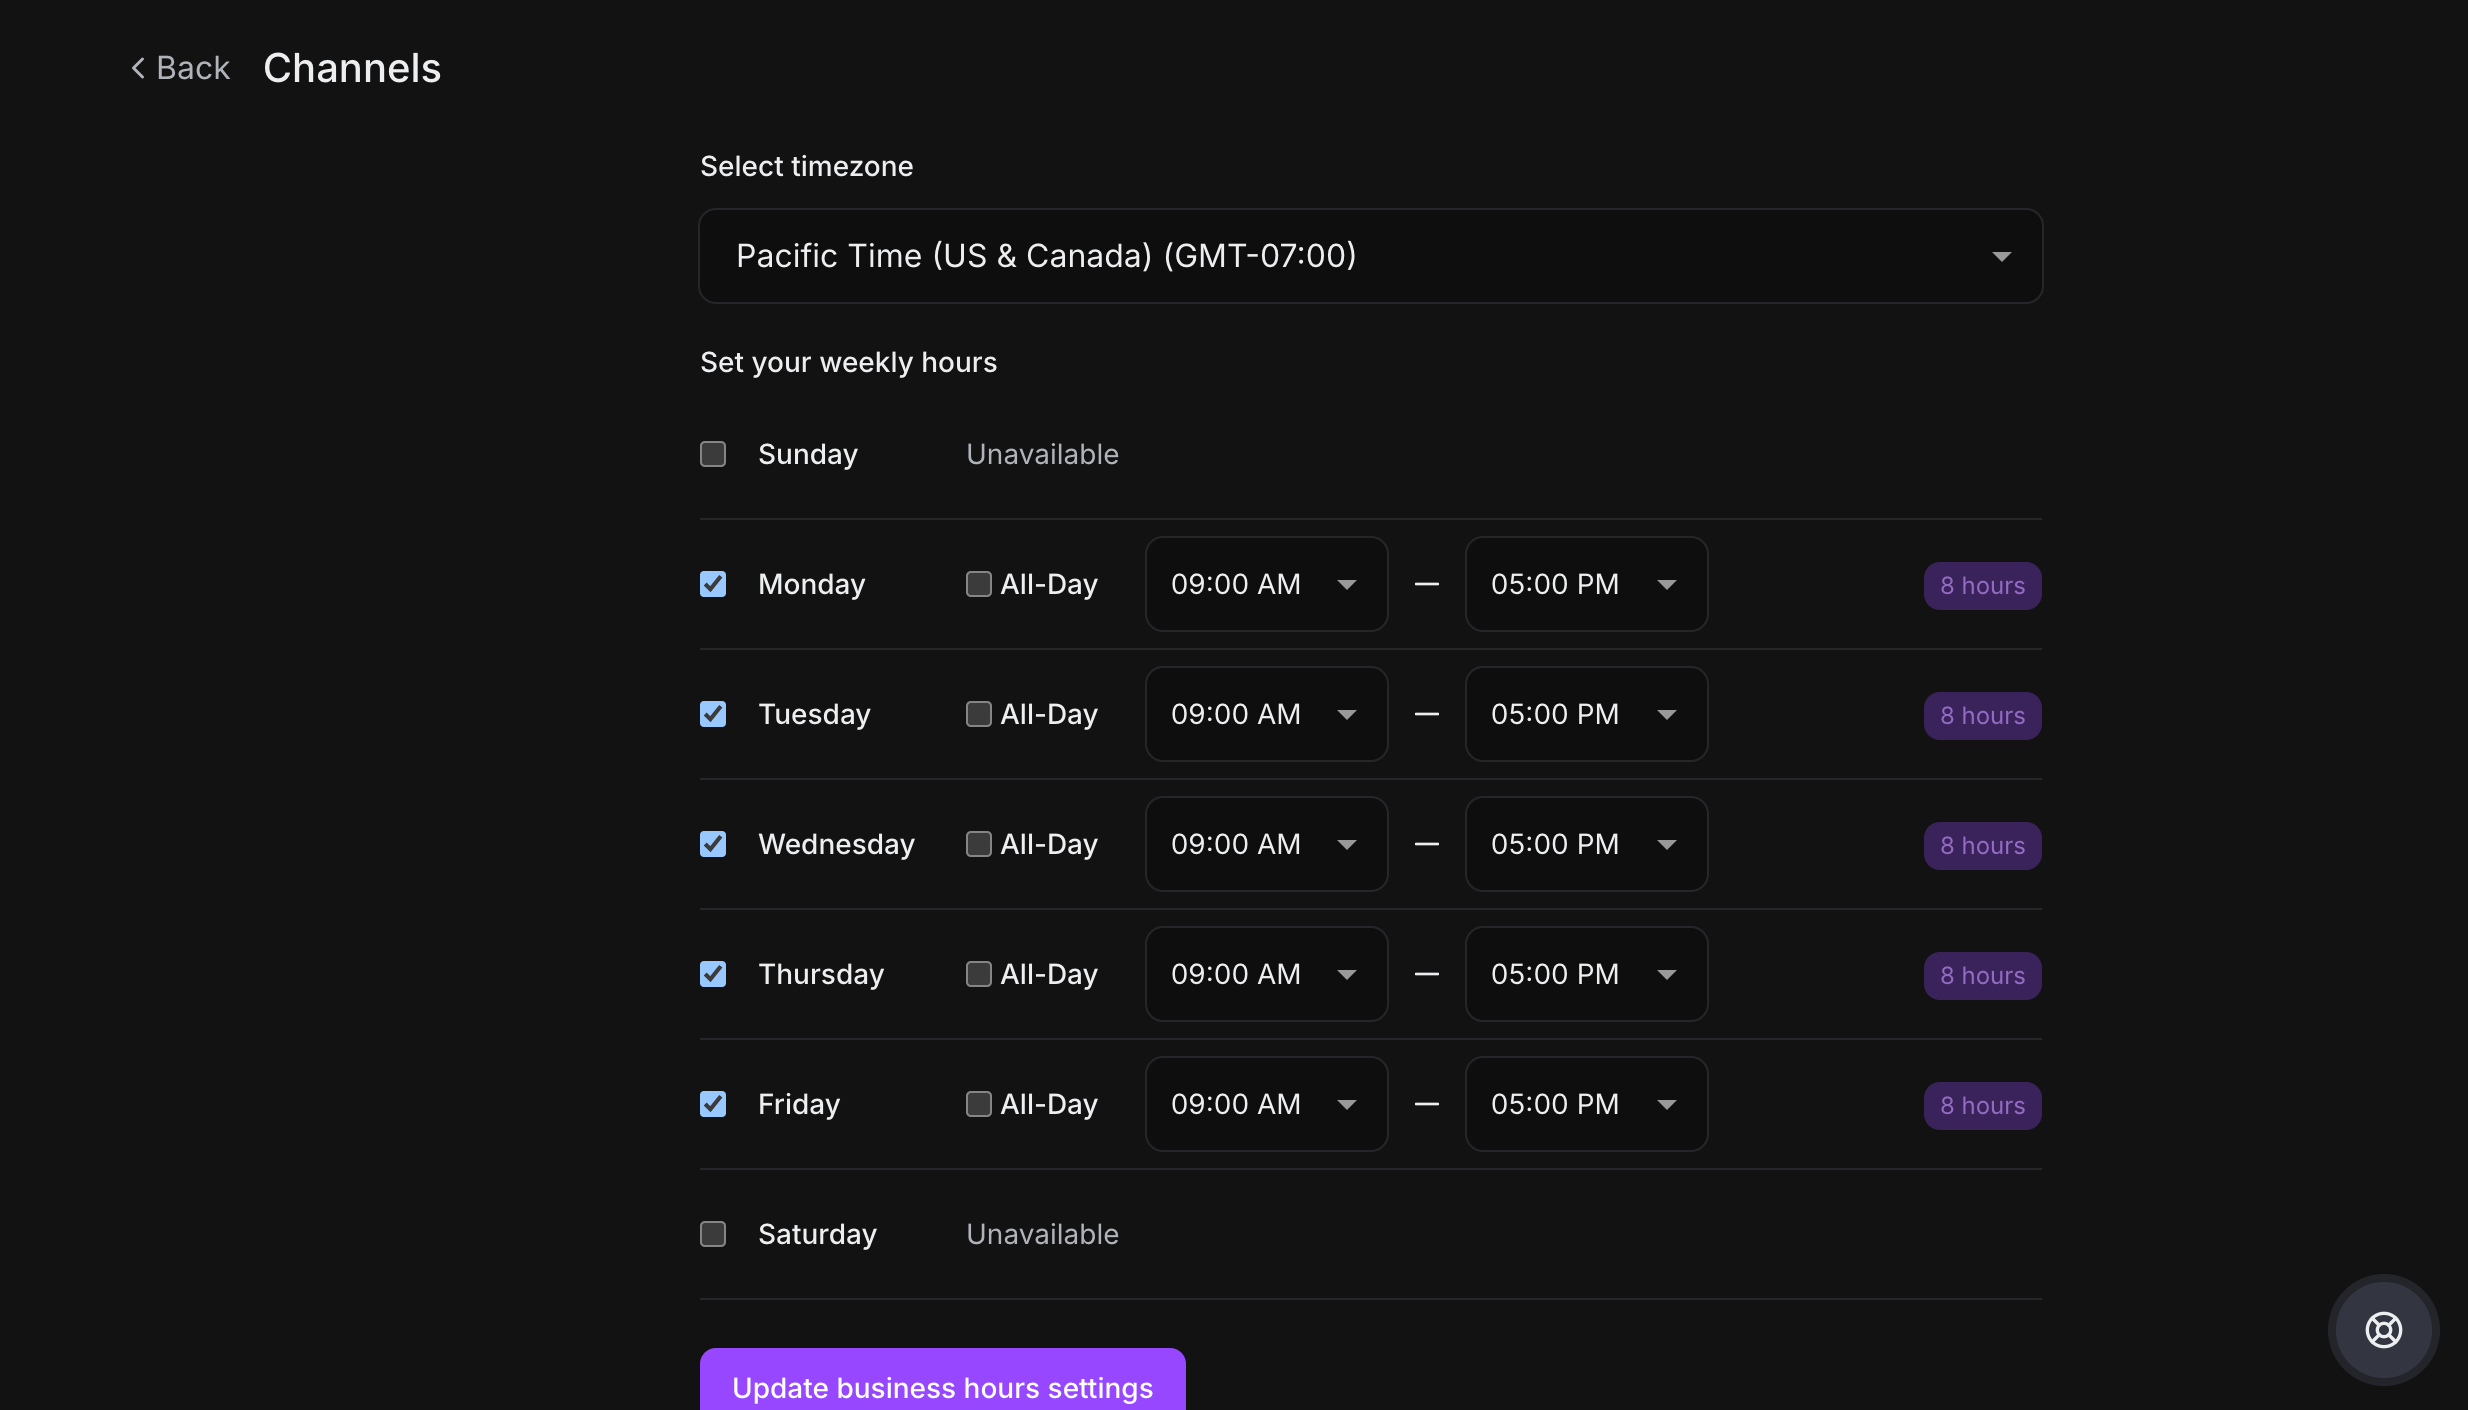
Business Hours Tab
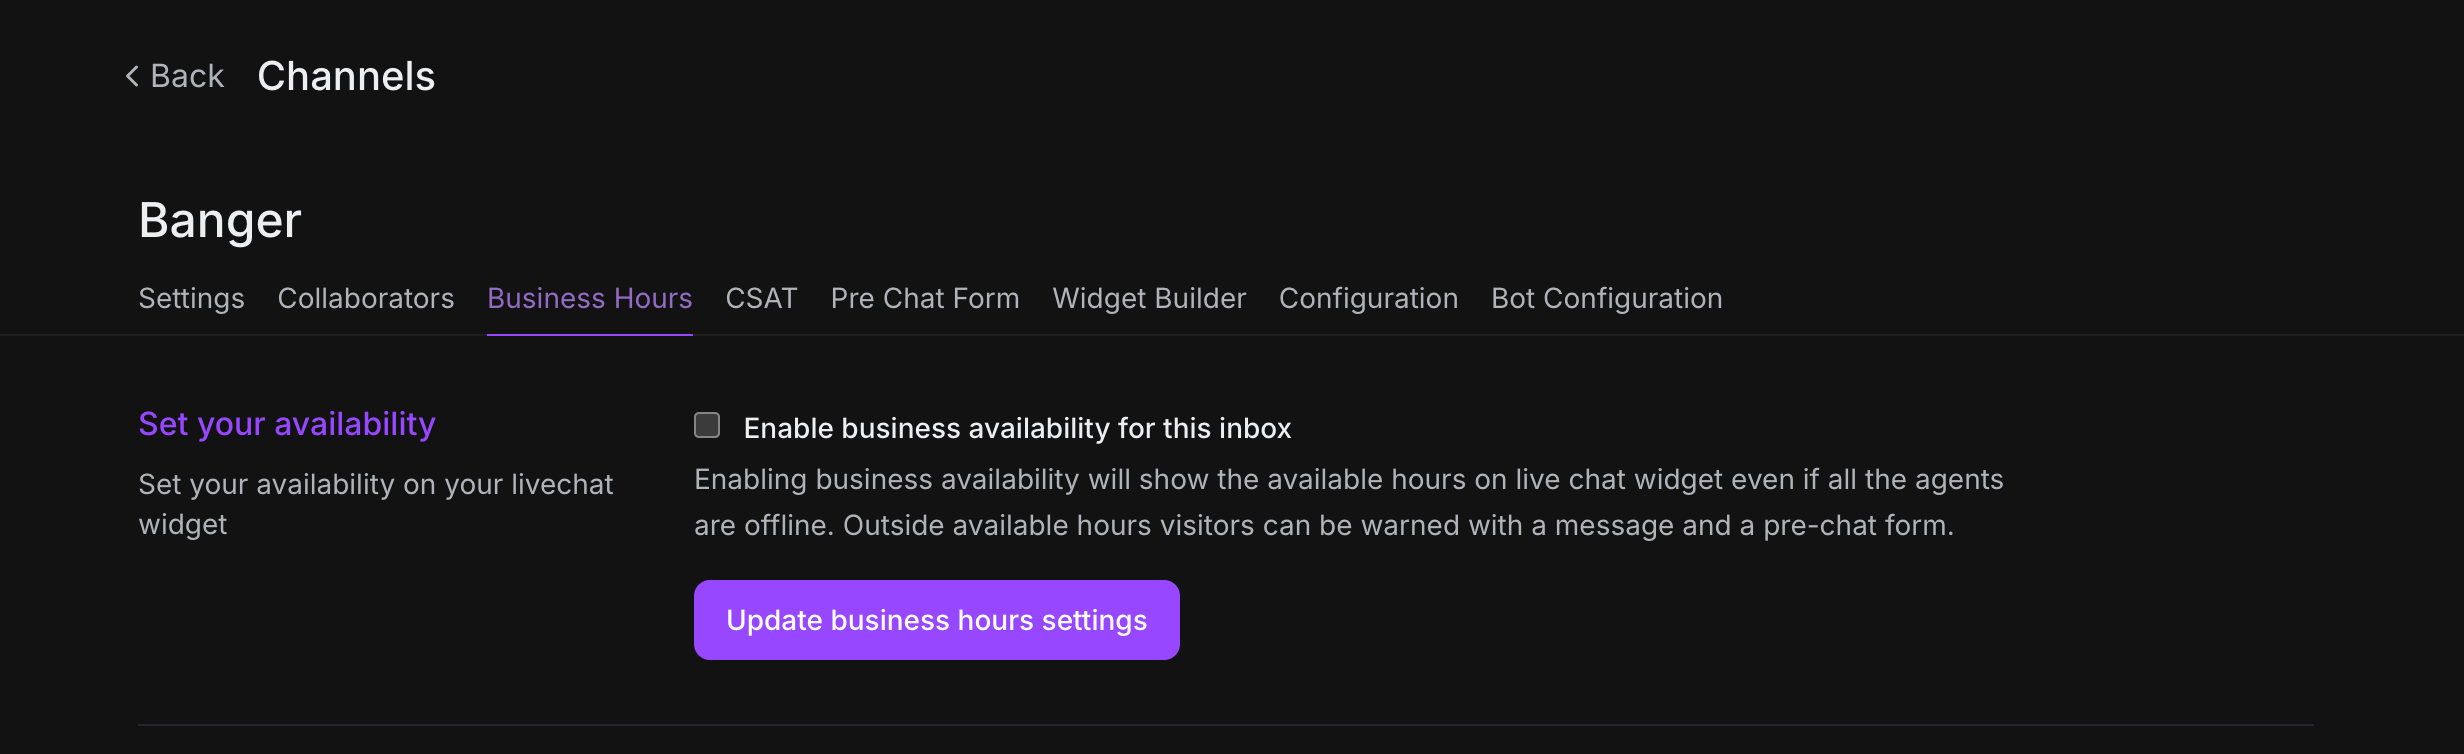
Set your availability:
-
Define working hours for each day of the week
-
Set timezone
-
Configure away message for outside business hours
-
Enable/disable business hours feature
Pre-Chat Form Tab
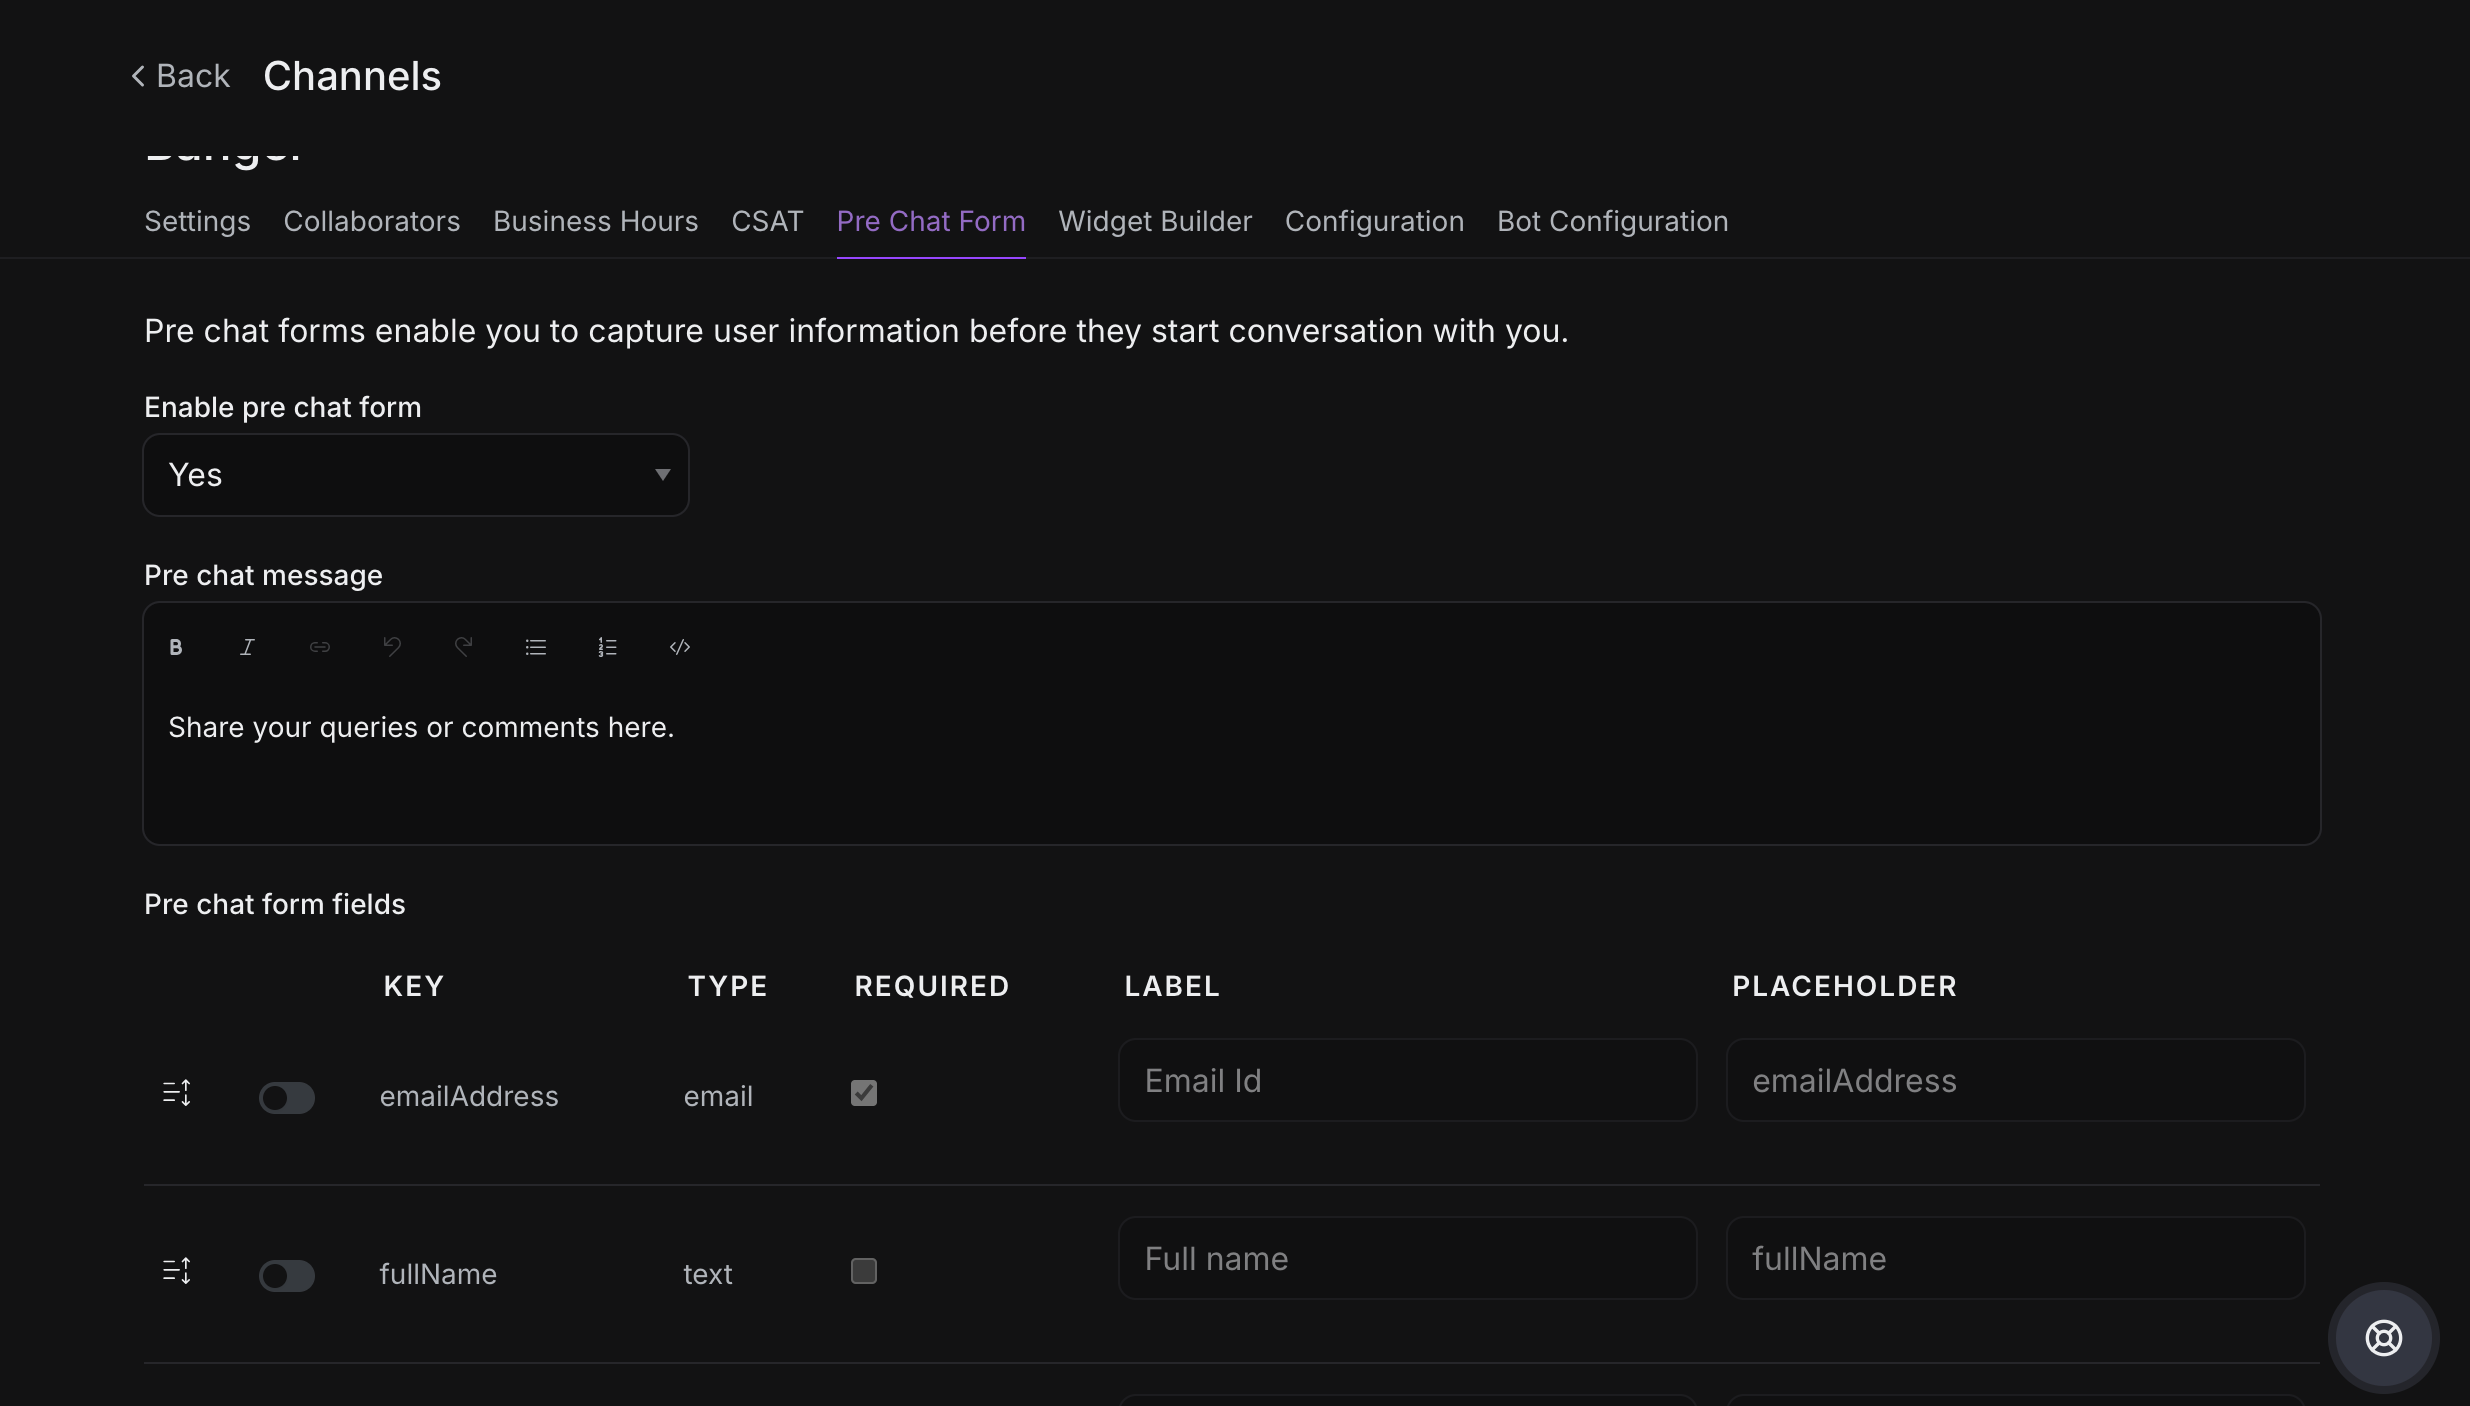
Customize information collection:
-
Enable/disable pre-chat form
-
Add custom fields (name, email, phone, etc.)
-
Make fields required or optional
-
Collect visitor information before starting chat
Configuration Tab
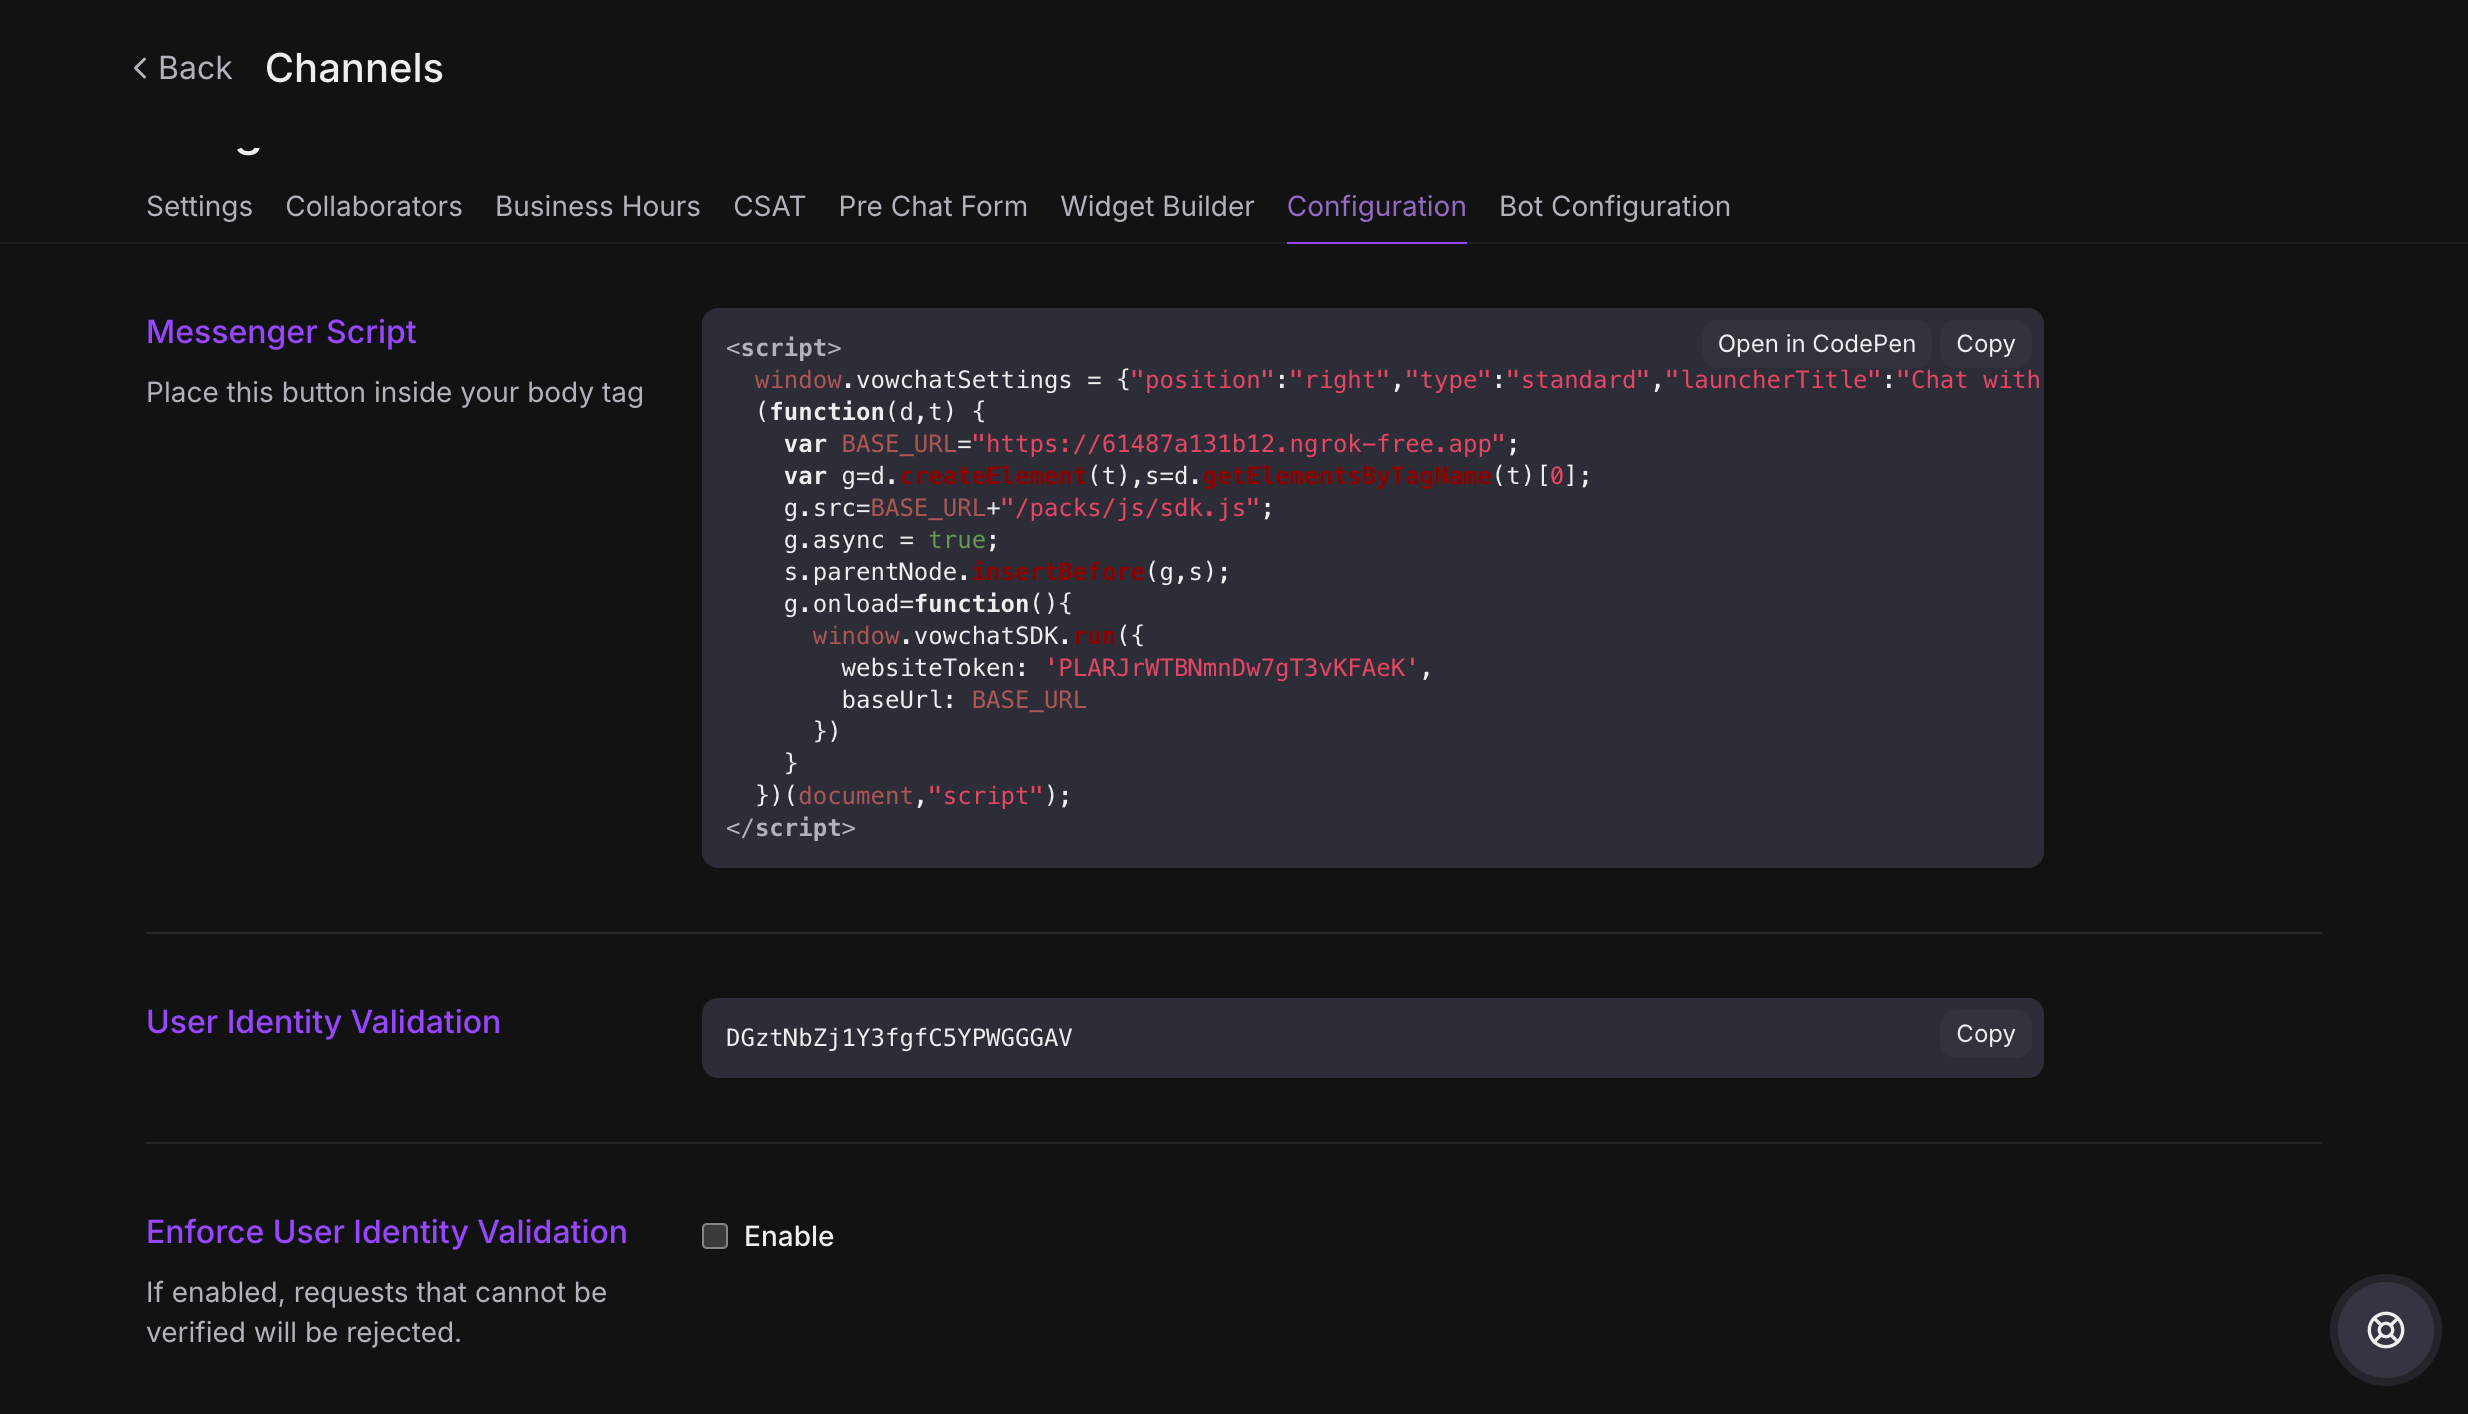
Get your widget code:
-
Copy the provided JavaScript snippet
-
Paste it into your website's HTML (before closing
</body>tag) -
The widget will appear on your website automatically
Installation Instructions:
-
Copy the code snippet from the Configuration tab
-
Open your website's HTML file or template
-
Paste the code just before the closing
</body>tag -
Save and publish your website
-
The chat widget will appear on your site
Widget Builder Tab

Customize widget appearance:
-
Widget position: Left or right side of screen
-
Widget type: Standard or expanded
-
Launcher text: Customize button text
-
Avatar: Upload team or agent photo
-
Widget bubble: Customize launcher appearance
-
Preview your changes in real-time before applying them
Next Steps
After configuring your website channel:
-
Install the widget code on your website
-
Test the chat widget to ensure it's working
-
Train your agents on handling website conversations
-
Set up automation rules for efficient routing
-
Monitor performance through Reports
Your website live chat is now ready to engage with visitors!